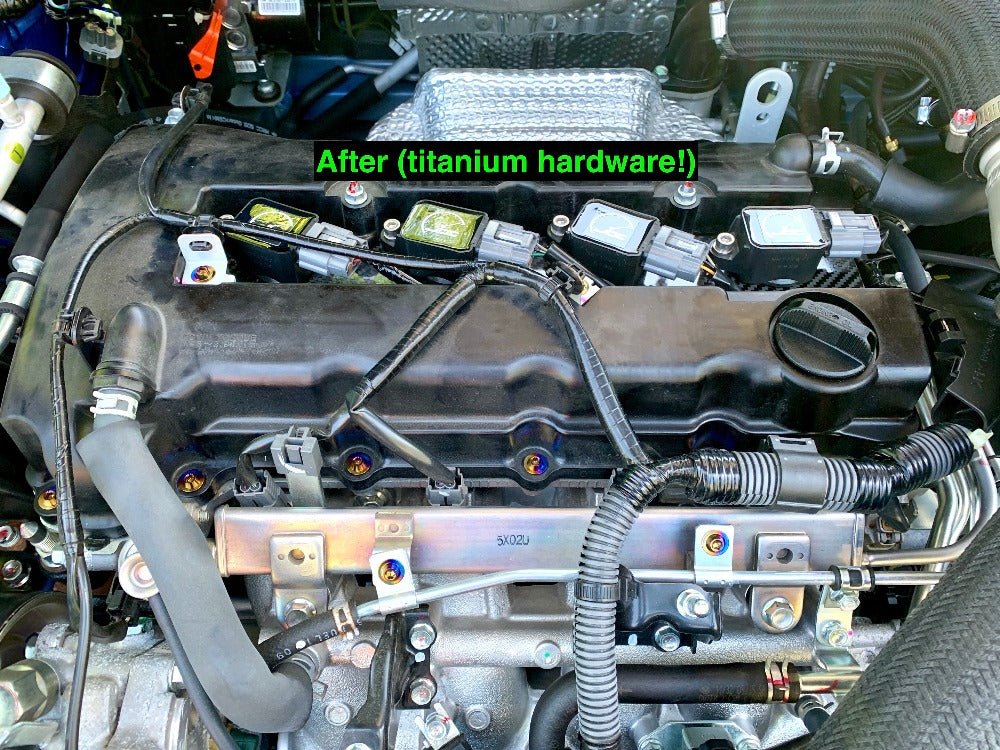
Instrucciones de instalación del hardware de la tapa de la válvula:
Notas importantes:
Las especificaciones de torque de fábrica recomendadas para el hardware de la tapa de la válvula son 48,5 +/- 4,5¡PULGADAS-LIBRAS!Asegúrese de utilizar un4 mm LLAVE ALLENpara apretar los tornillos yNo es una punta torx.Nuestros pernos de tapa de válvulas Evo X han sido probados con una llave dinamométrica para soportar 14,5 ft/lb (174 in/lb) antes de que se desmonten las culatas. Si tiene problemas para desmontar los pernos, algo está haciendo mal.
Se recomienda usar guantes durante la instalación para evitar que los aceites entren en contacto con el titanio. Si no tiene guantes limpios, lavarse las manos antes de tocar las piezas de titanio será útil. Después de la instalación, puede limpiar los herrajes para devolverles el brillo con agua jabonosa o Windex y un paño de microfibra.
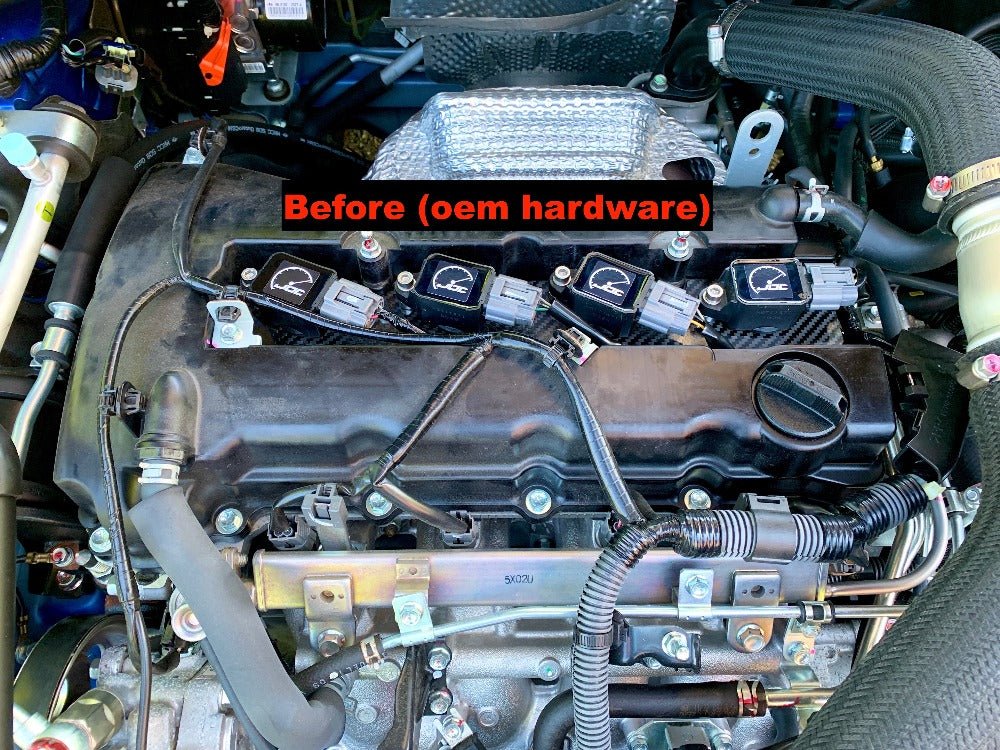
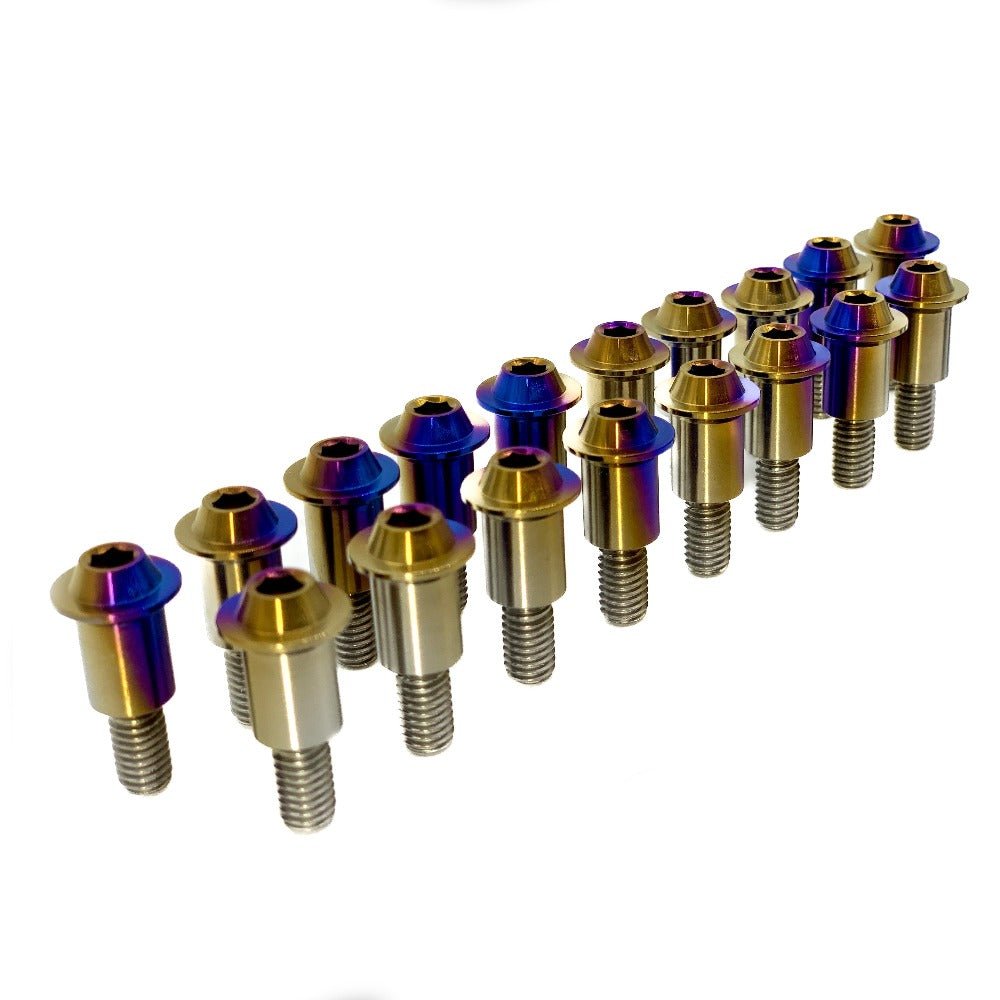
Paso 1:Comience quitando todos los pernos de la tapa de válvulas, excepto los de los orificios 1 y 2 del diagrama a continuación. Esto ayudará a mantener la tapa centrada mientras se colocan los demás pernos. Inserte los demás pernos y apriételos a mano ligeramente.
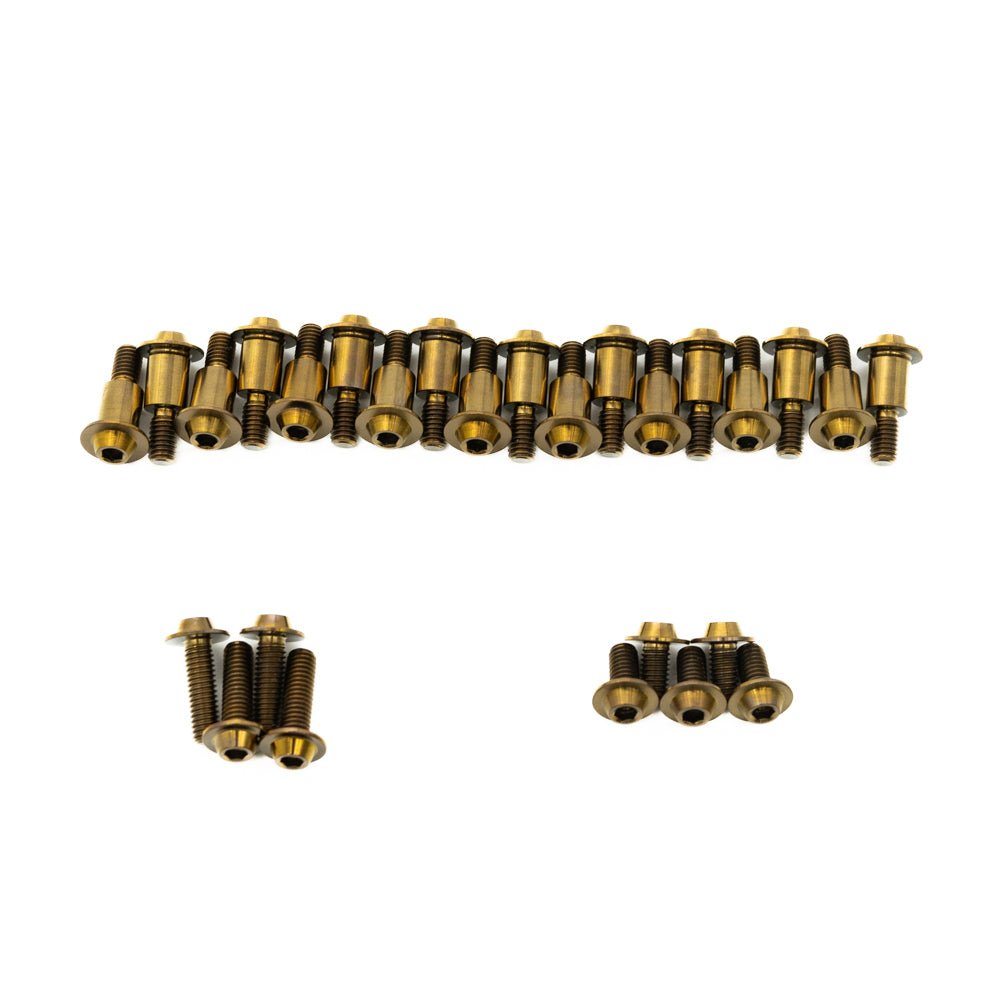
Paso 2:Siguiendo el diagrama de torque a continuación, apriete todos los pernos a 26,5 ± 8,8 pulgadas-lb en el orden indicado. Al llegar al perno 18, reemplace los pernos 1 y 2 por los nuevos. Continúe la secuencia de torque con el perno 3 a 48,5 ± 4,5 pulgadas-lb. No olvide aplicar el torque final a los pernos 1 y 2. Si solicitó un kit básico, puede detenerse aquí. Si solicitó el kit completo, continúe con el paso 3.
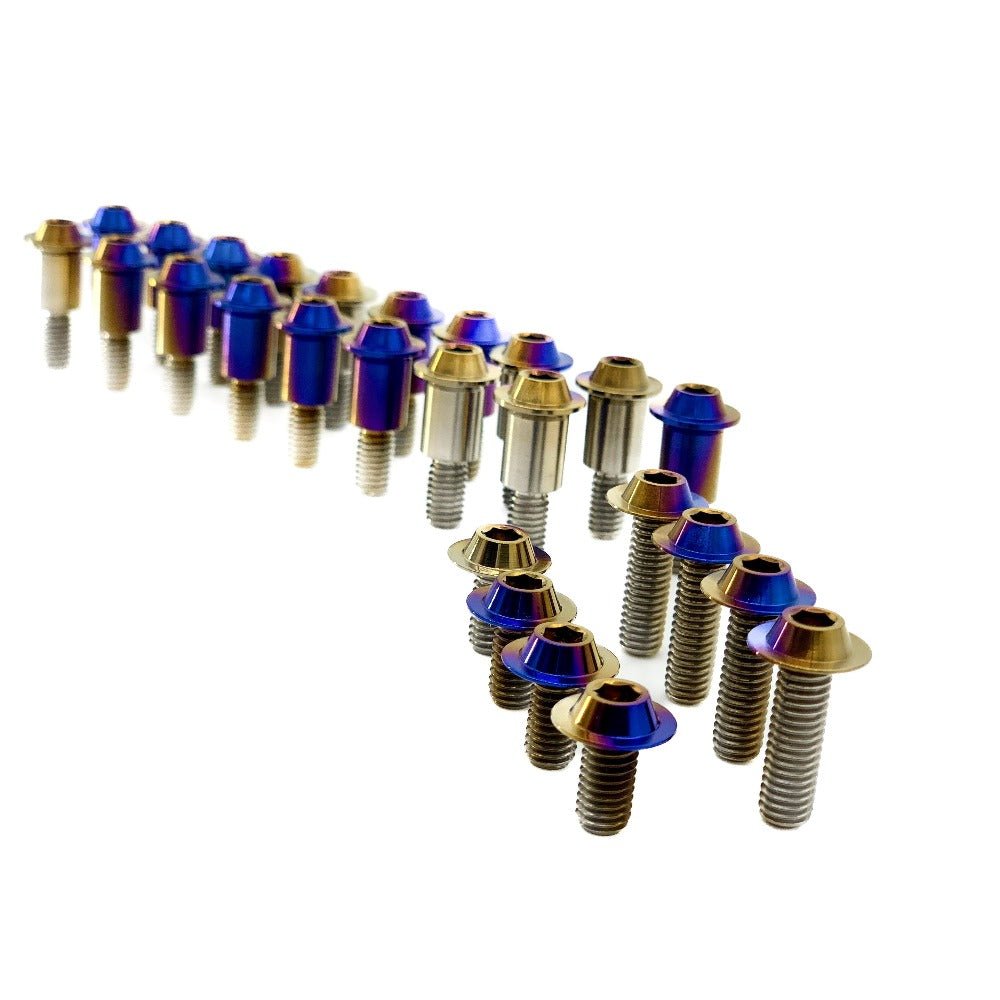
Paso 3:Los 4 tornillos medianos (M6 x 20 mm) son para las bobinas. Retire los tornillos viejos y sustitúyalos por los nuevos de titanio. Apriételos a mano.
Paso 4:Retire los 3 pernos viejos de las abrazaderas de alambre en la parte superior de la tapa de válvulas. Para ello, presione la abrazadera negra y retírela del soporte para que el dado de 10 mm encaje en el perno. Reemplácelos con los pernos más pequeños (M6 x 12 mm). Apriételos a mano es suficiente.
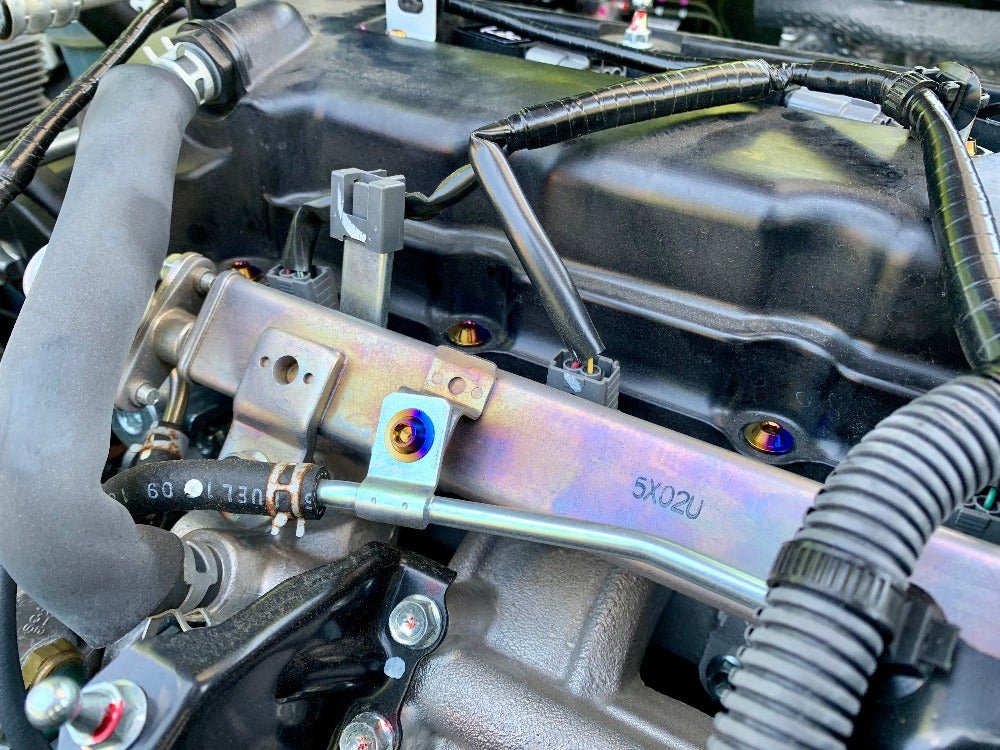
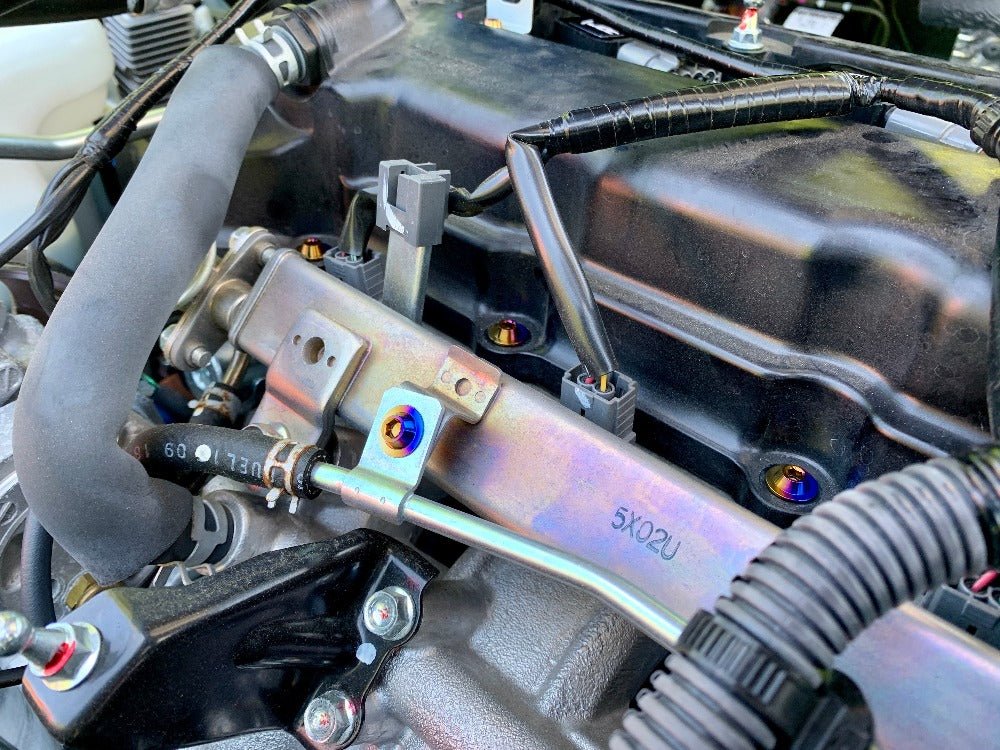
Paso 5:Retire los dos pernos de la parte superior del riel de combustible y reemplácelos con los pernos pequeños de titanio (M6 x 12 mm). Apriételos a mano también.
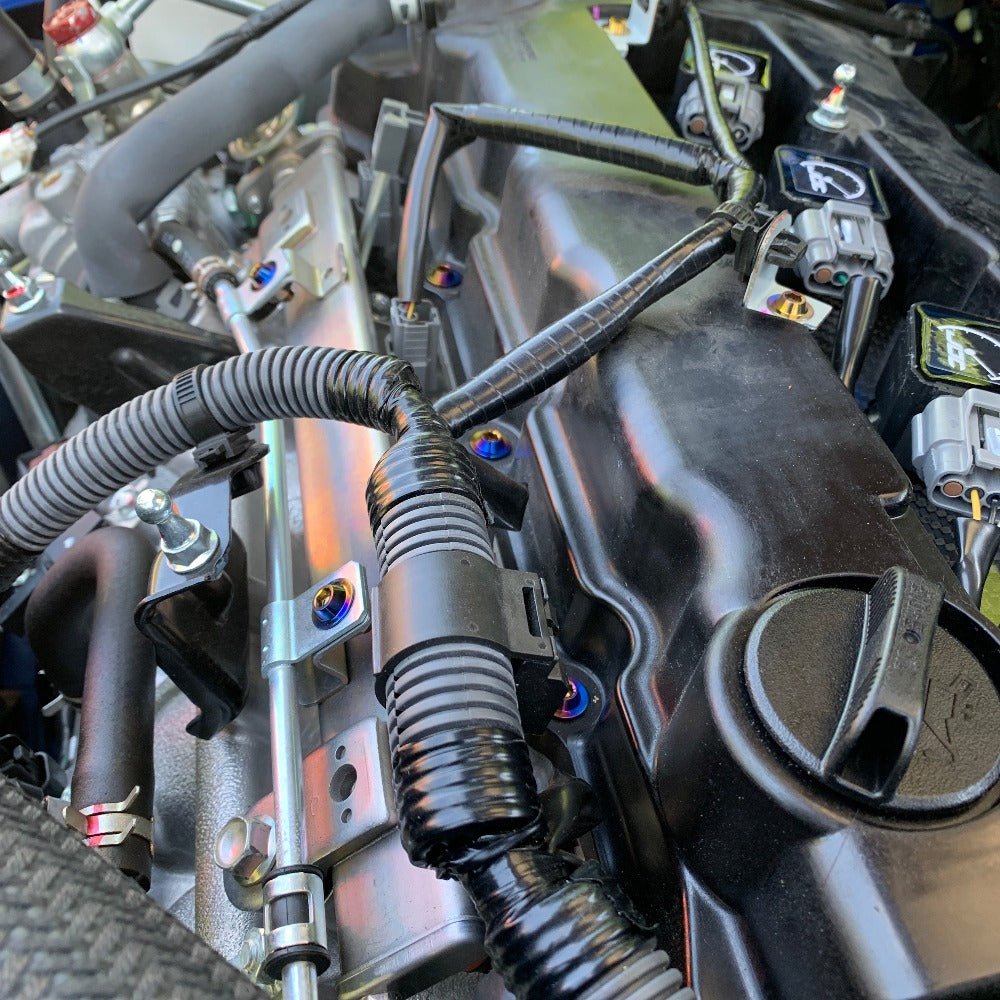
Paso 6:Date un respiro y admira la belleza de un kit completo de titanio para el compartimento del motor de JD Customs USA. ¡No olvides tomar algunas fotos y etiquetarnos @JD_Customs_USA! ¡Solemos compartir fotos de la instalación en nuestras historias de Instagram! Gracias por tu compra y estate atento a las próximas piezas y kits para el Evo X.