


Kit de reemplazo de hardware de cubierta de válvula de titanio JDC (Evo X)
JDC-TI-EVOX-VCHRK-OB
$ 95.00
Pairs well with
<p>Ganas%20[points_amount]%20cuando%20compras%20este%20art%C3%ADculo.</p>
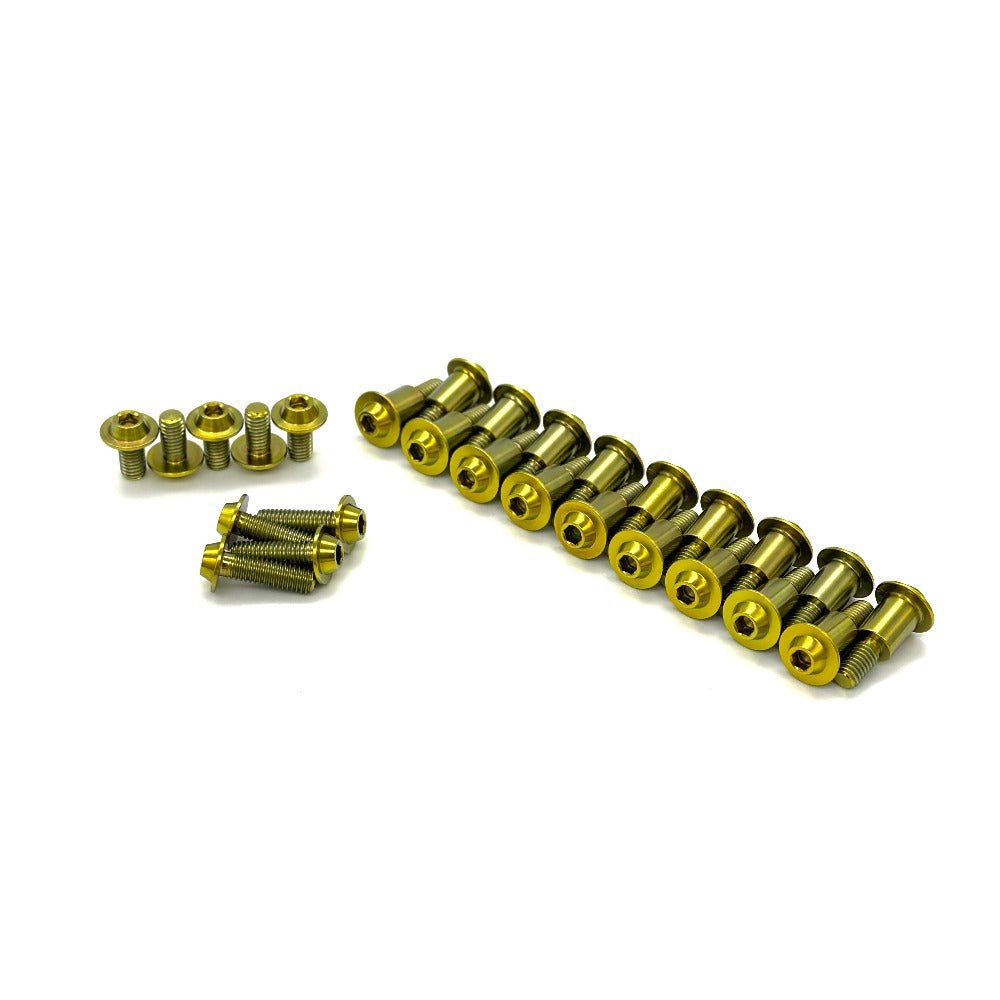
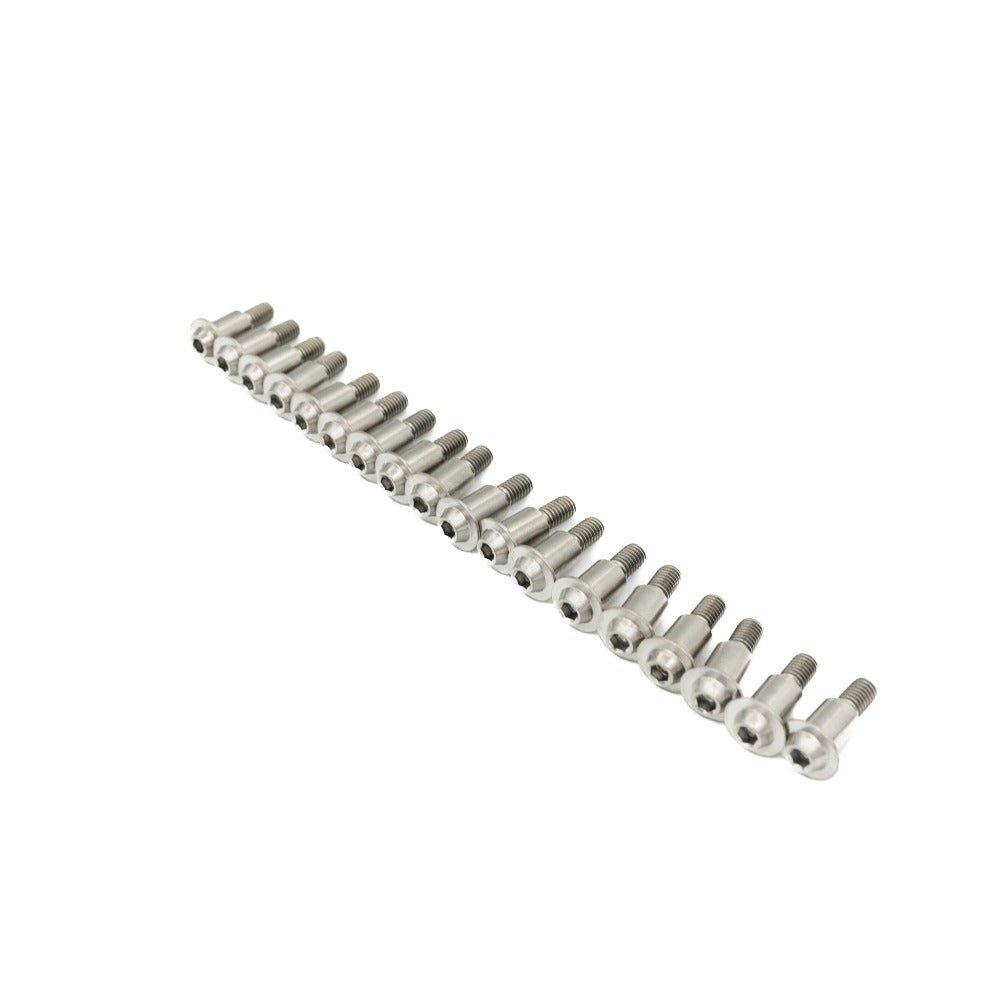
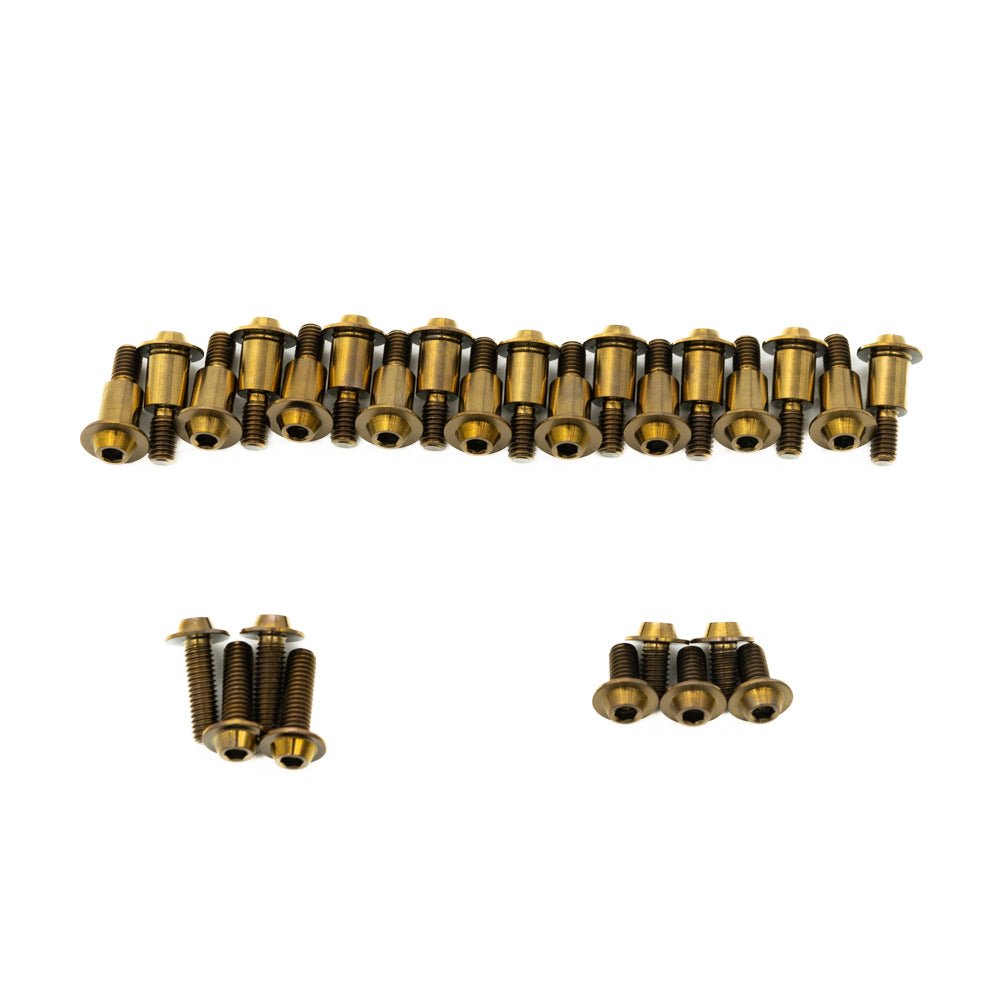
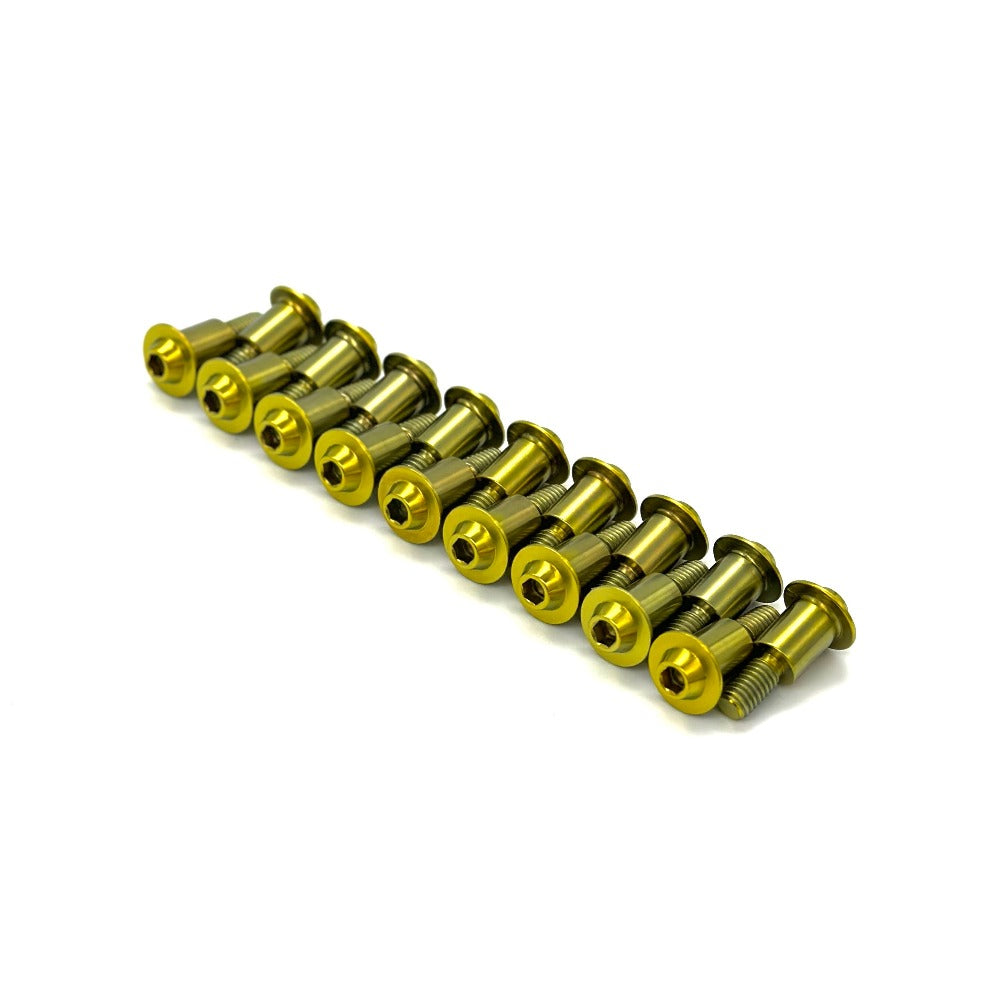
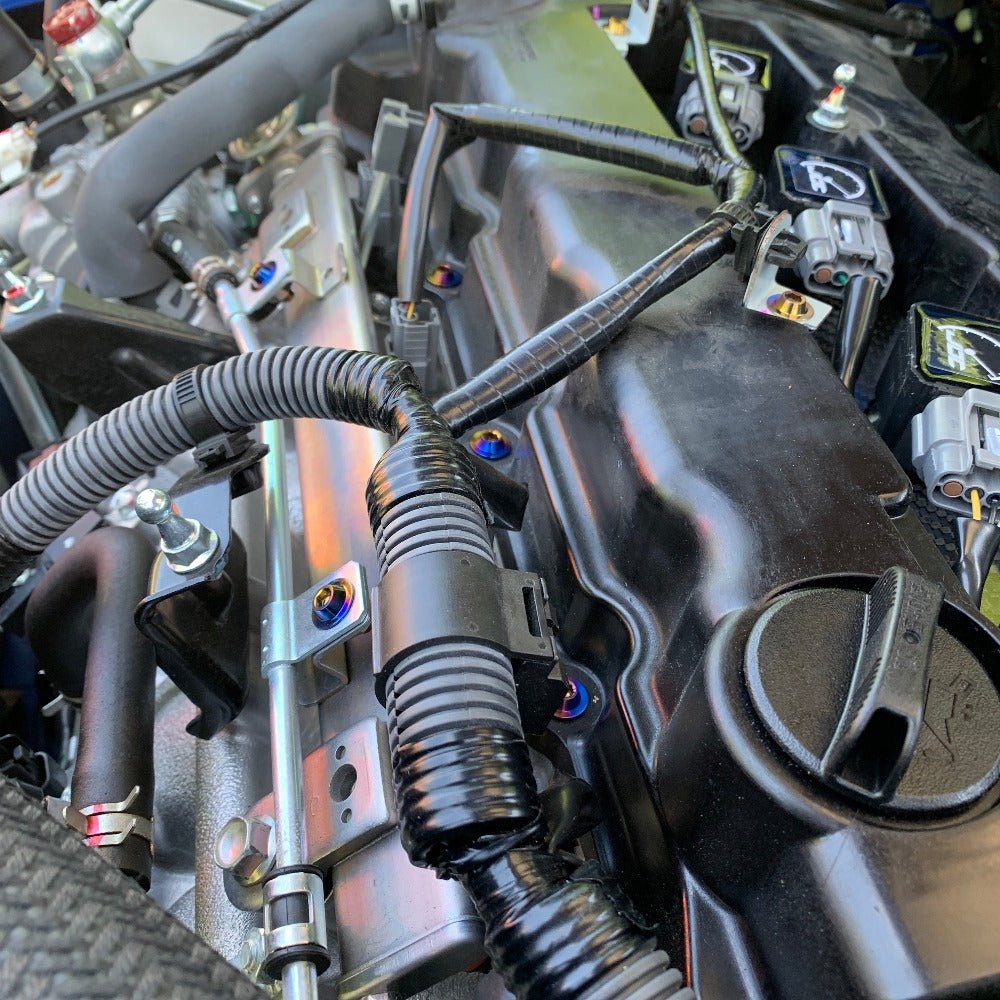
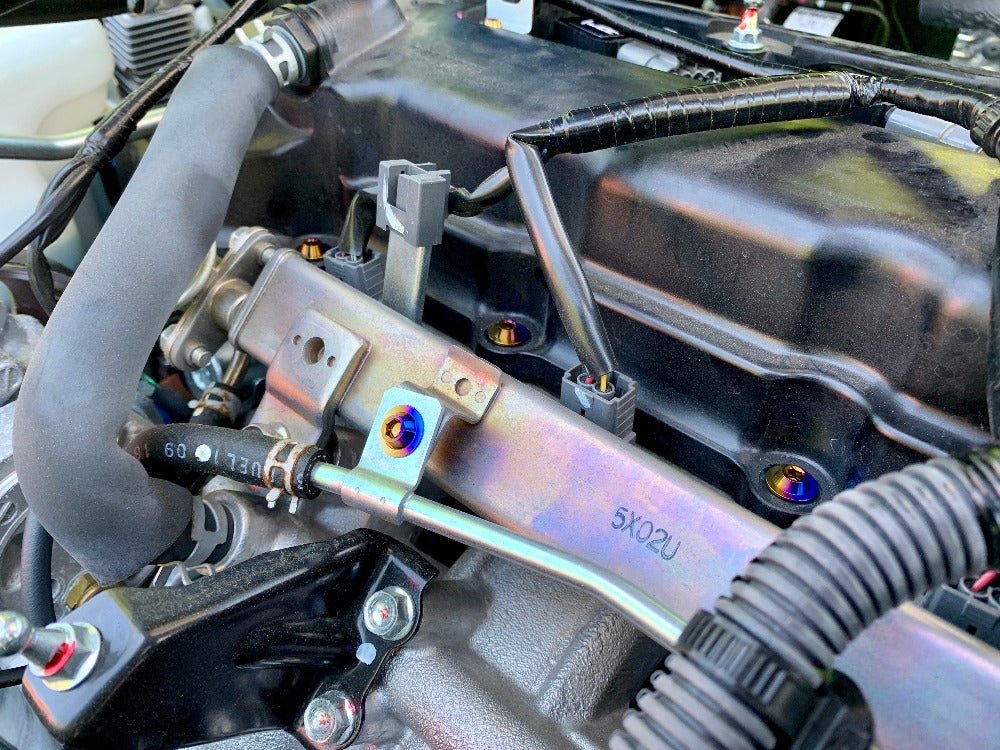
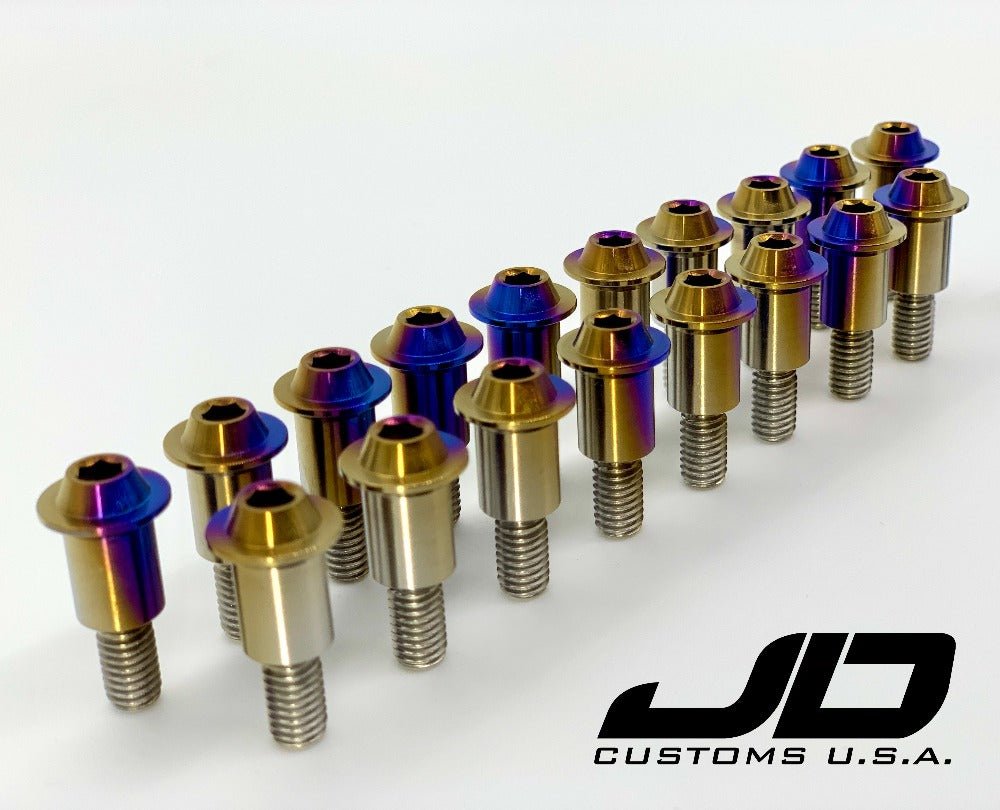
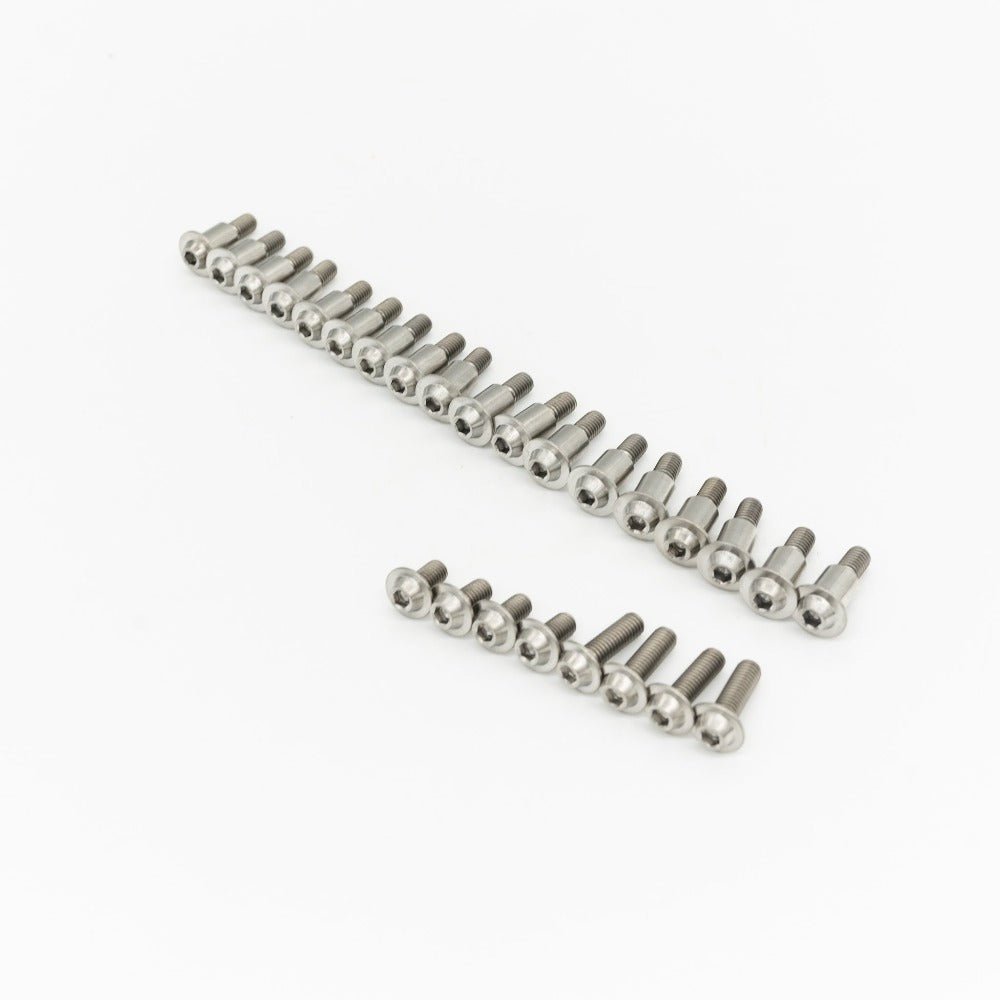
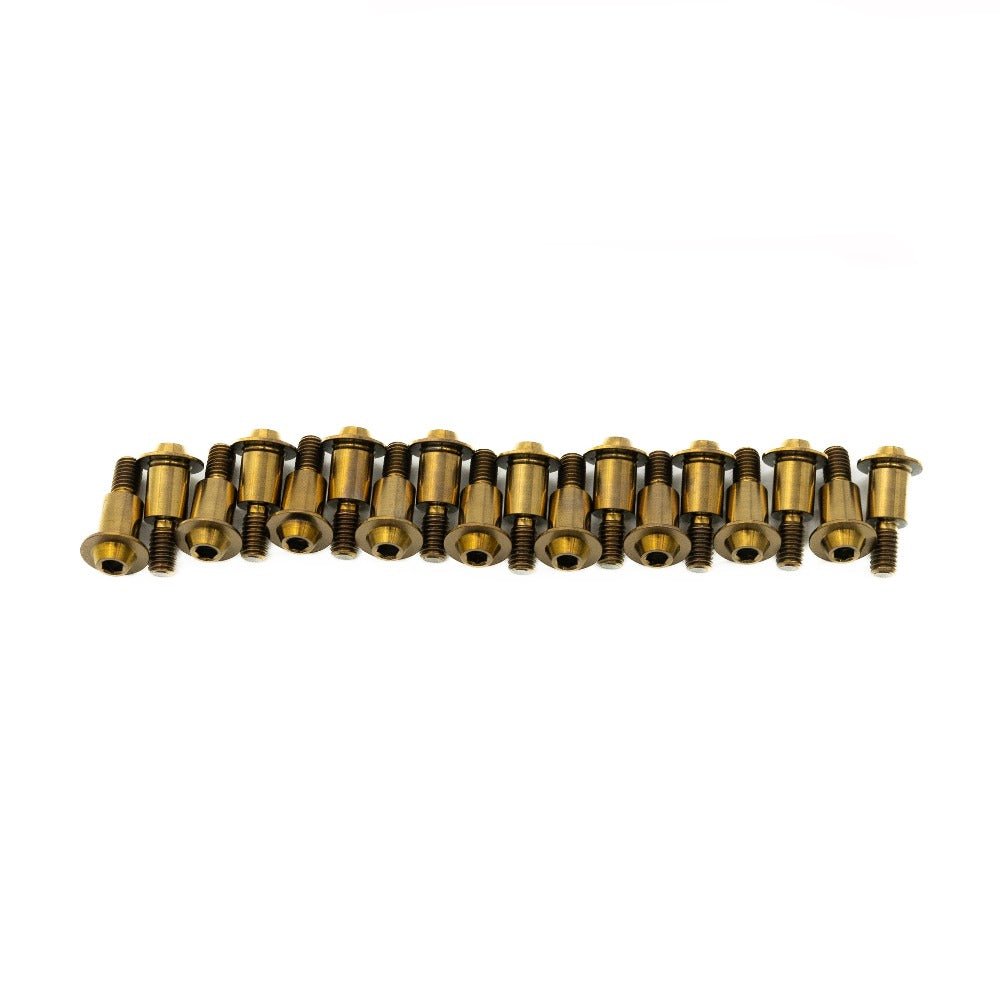
Kit de reemplazo de hardware de tapa de válvula de titanio JDC
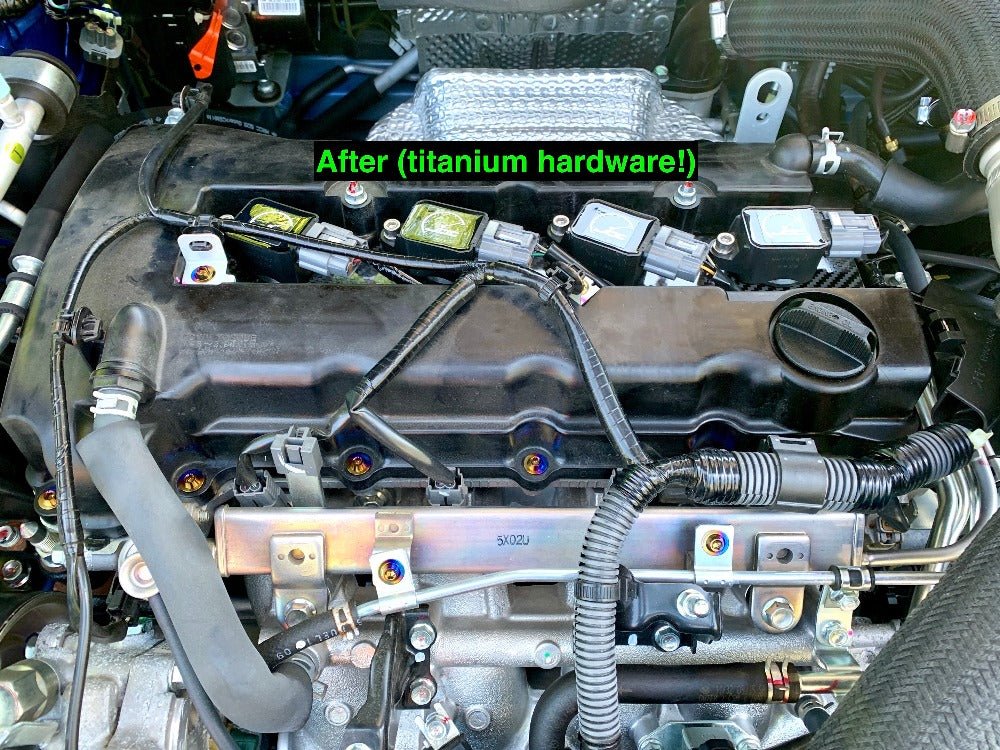
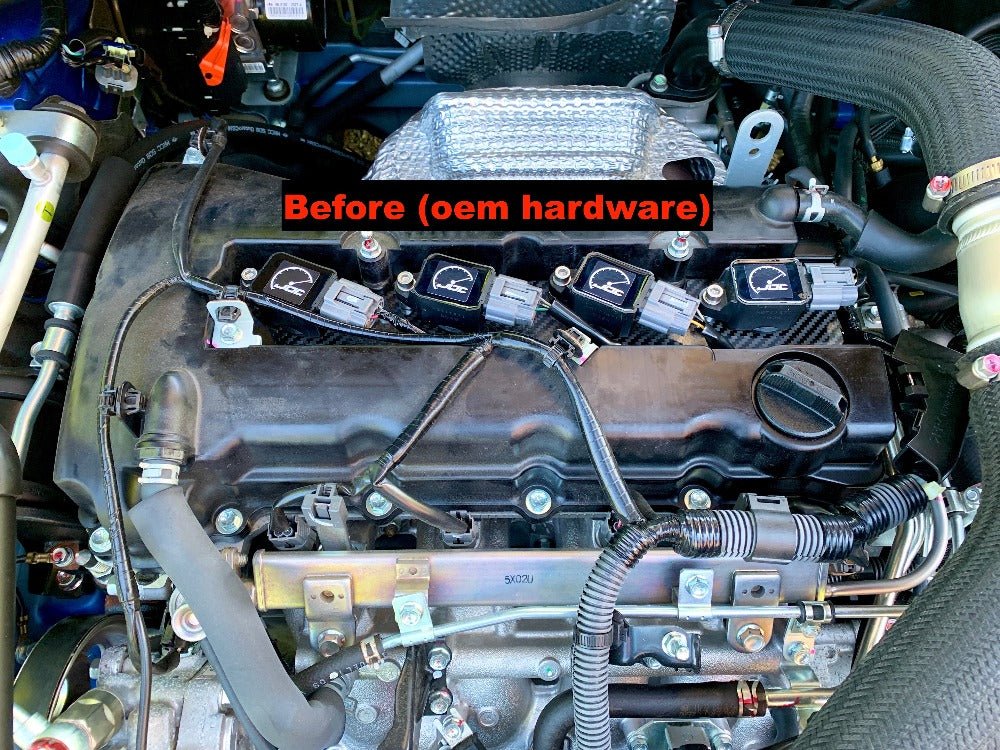
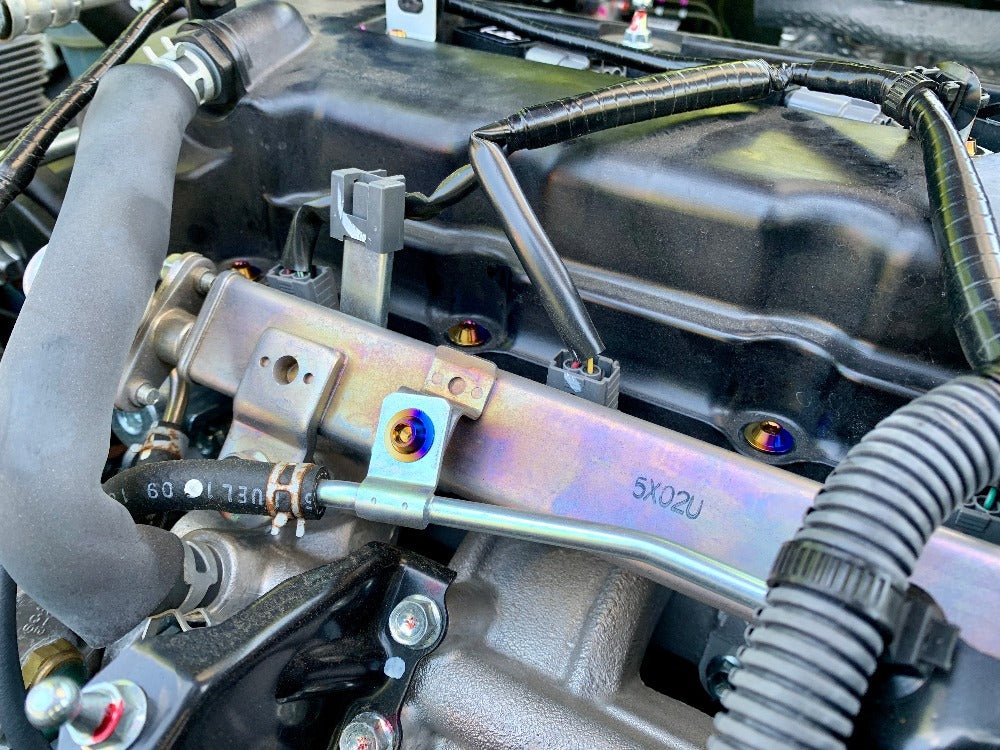
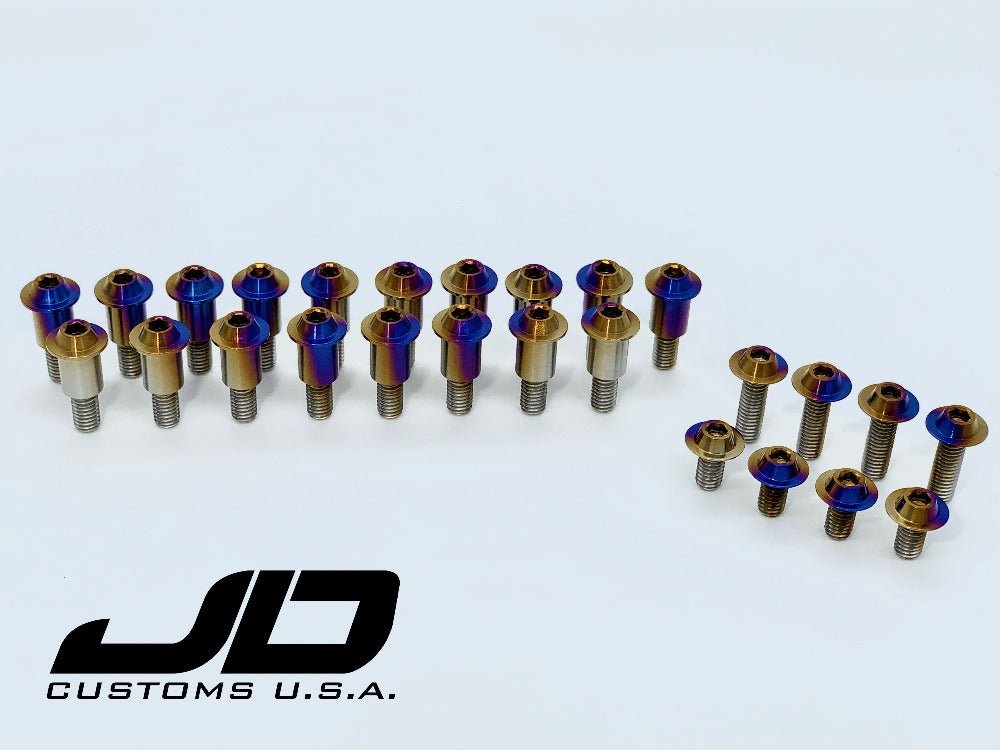
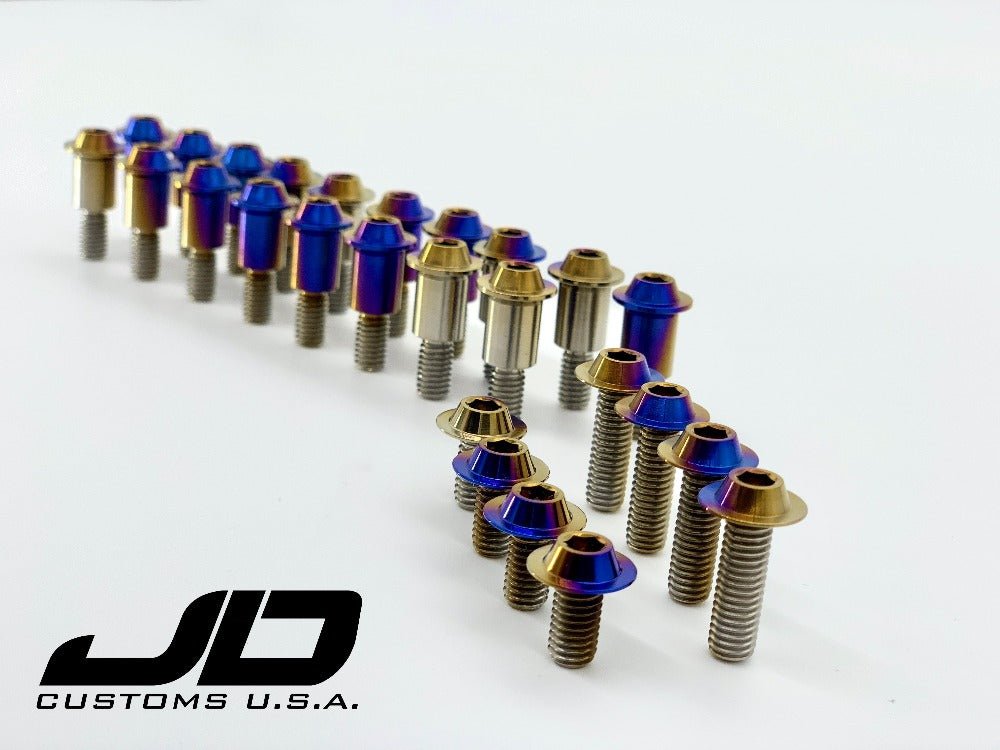
Este kit reemplaza los herrajes oxidados de la tapa de válvulas original con hermosos herrajes de titanio Gr5 mecanizados por CNC. Los pernos de la tapa de válvulas están diseñados para cumplir con las especificaciones originales en cuanto a profundidad y diámetro, pero hemos añadido nuestra cabeza personalizada para una apariencia más limpia y al ras. Este kit es compatible con tapas de válvulas de plástico o aluminio. Disponemos de dos opciones para que elijas.
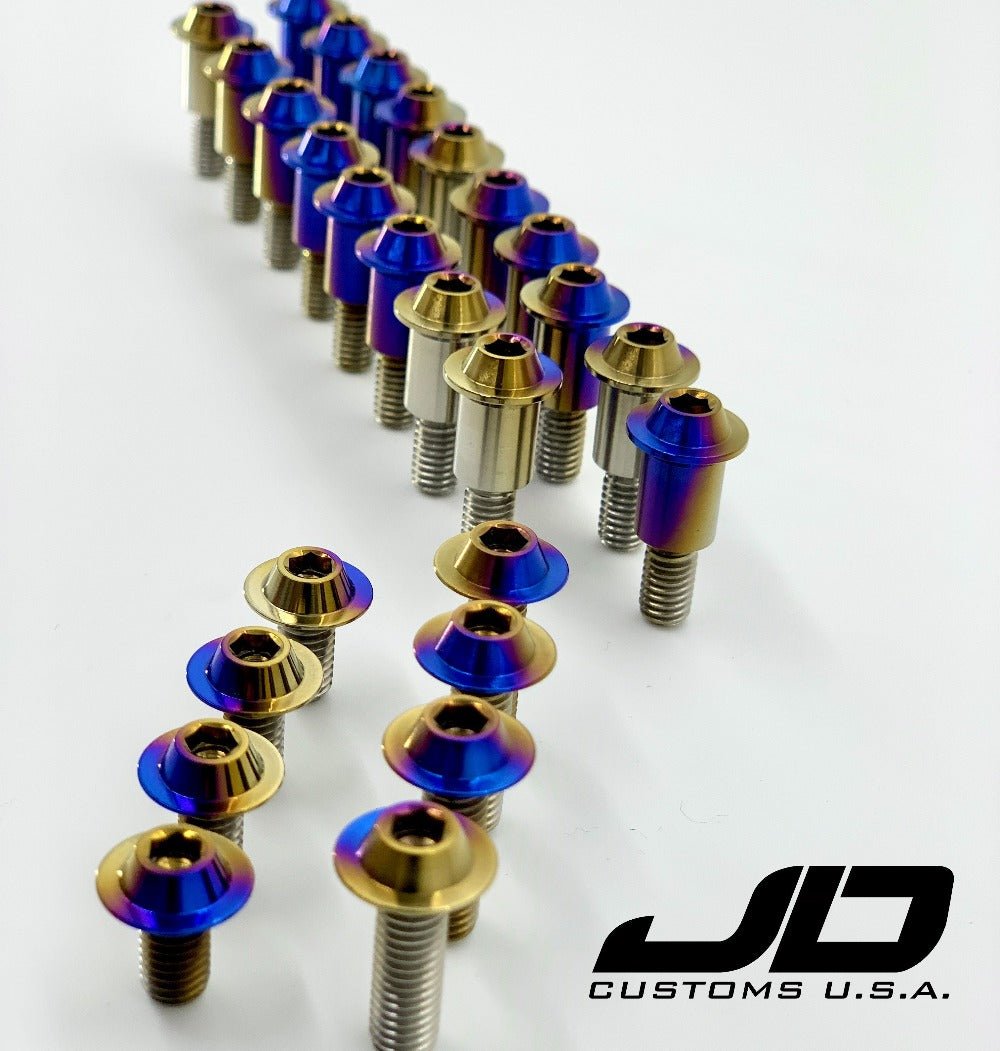
Para ver la lista completa de colores, consulta nuestras opciones de color para titanio JDC . Si quieres saber cómo mantener tu titanio limpio, consulta Mantenimiento y cuidado del titanio JDC .FAQs
Please read our FAQs page to find out more.