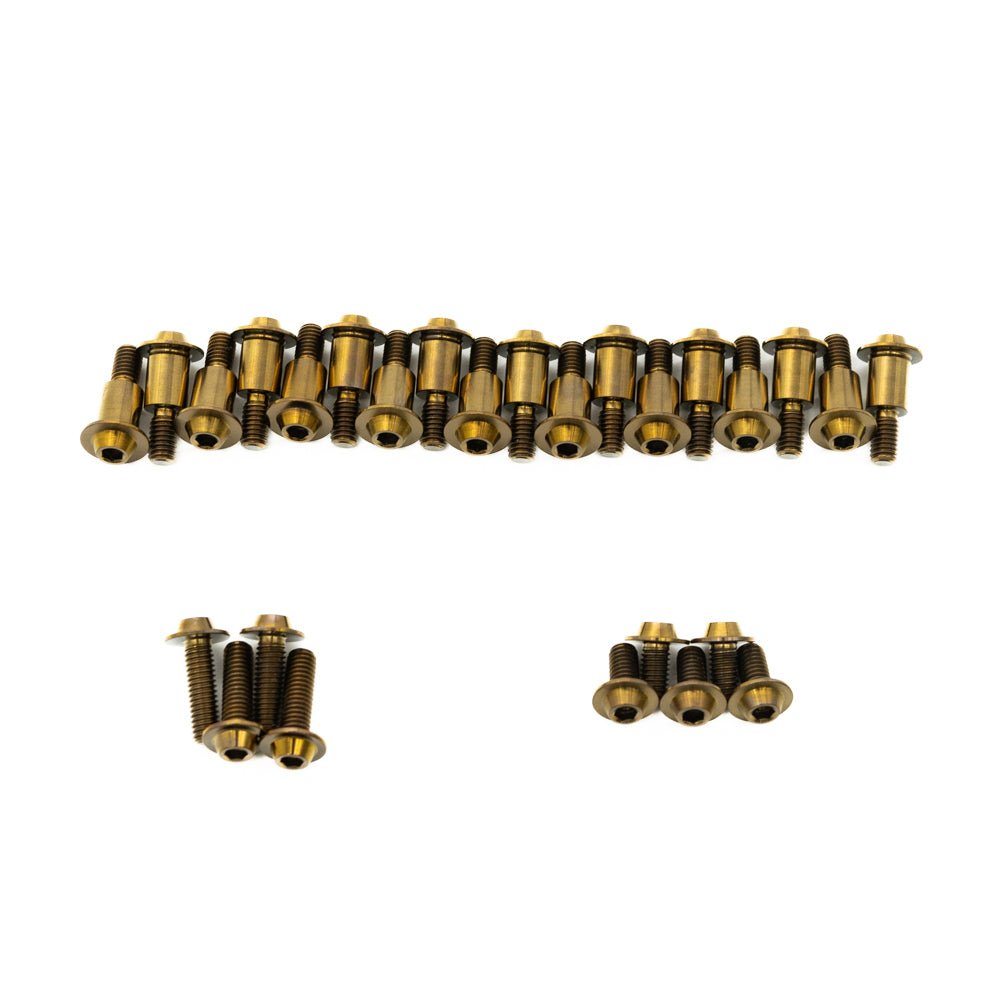
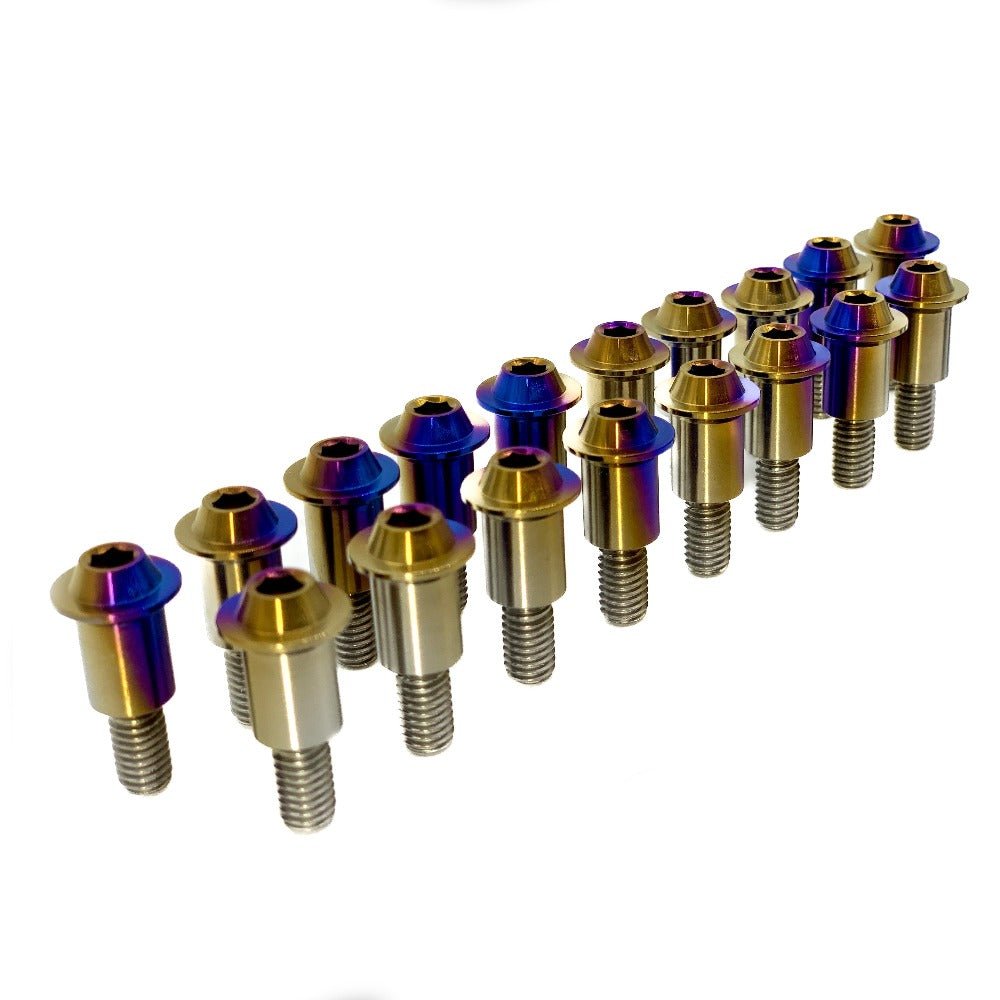
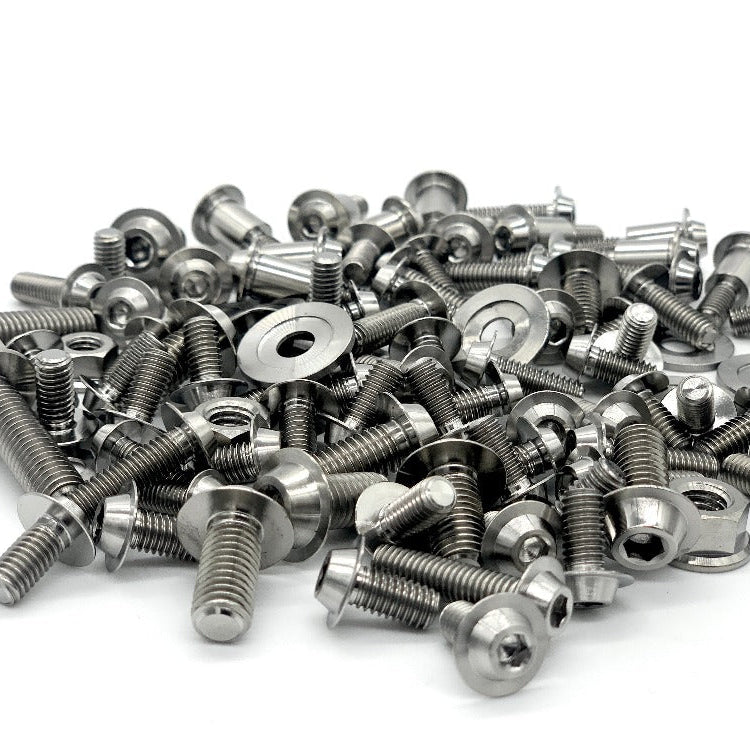
Valve Cover Hardware Installation Instructions:
Important Notes:
The recommended factory torque specs for the valve cover hardware is 48.5 +/- 4.5 INCH-POUNDS! Make sure to use a 4mm ALLEN KEY to torque the bolts and not a torx bit. Our Evo X Valve Cover Bolts have been tested with a torque wrench to withstand 14.5 ft/lbs (174 in/lbs.) before the head strips. If you are having an issue with stripping bolts, you are doing something wrong.
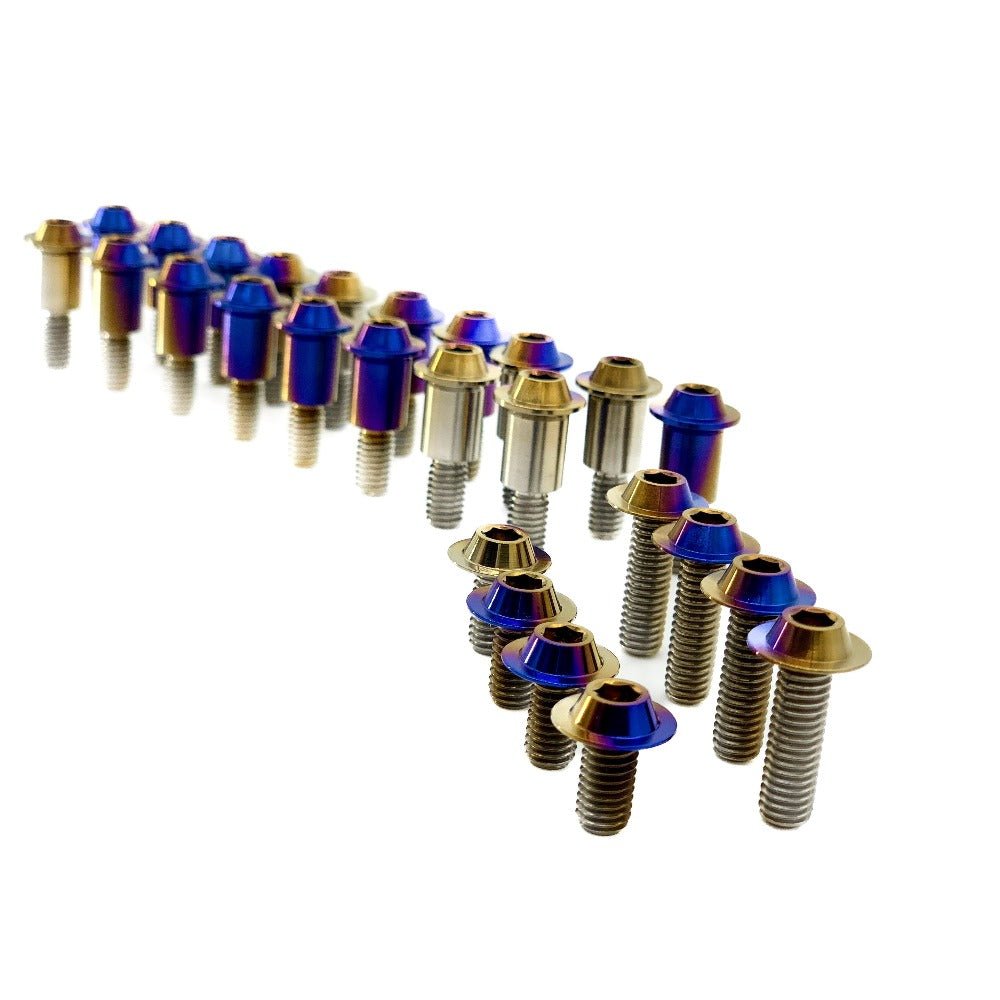
Gloves are recommended during installation to keep oils off of the titanium. If you don't have a set of clean gloves, washing your hands before touching the titanium parts will help. After the installation, you can wipe down the hardware to bring back the shine using soapy water or Windex with a microfiber rag.
Step 1: Start by removing all the bolts from the valve cover except the bolts in holes 1 and 2 in the diagram below. These will help keep the valve cover centered while replacing the rest of the bolts. Insert the rest of the bolts and loosely hand-tighten them.
Step 2: Following the torque diagram below; torque all the bolts to 26.5 +/- 8.8 inch lbs. in the order shown. When you reach bolt 18, replace bolts 1 and 2 with the new bolts. Continue the torque sequence with bolt 3 to 48.5 +/- 4.5 inch lbs. Do not forget to do the final torque on bolts 1 and 2. If you ordered a basic kit, you can stop here. If you ordered the full kit, proceed to step 3.
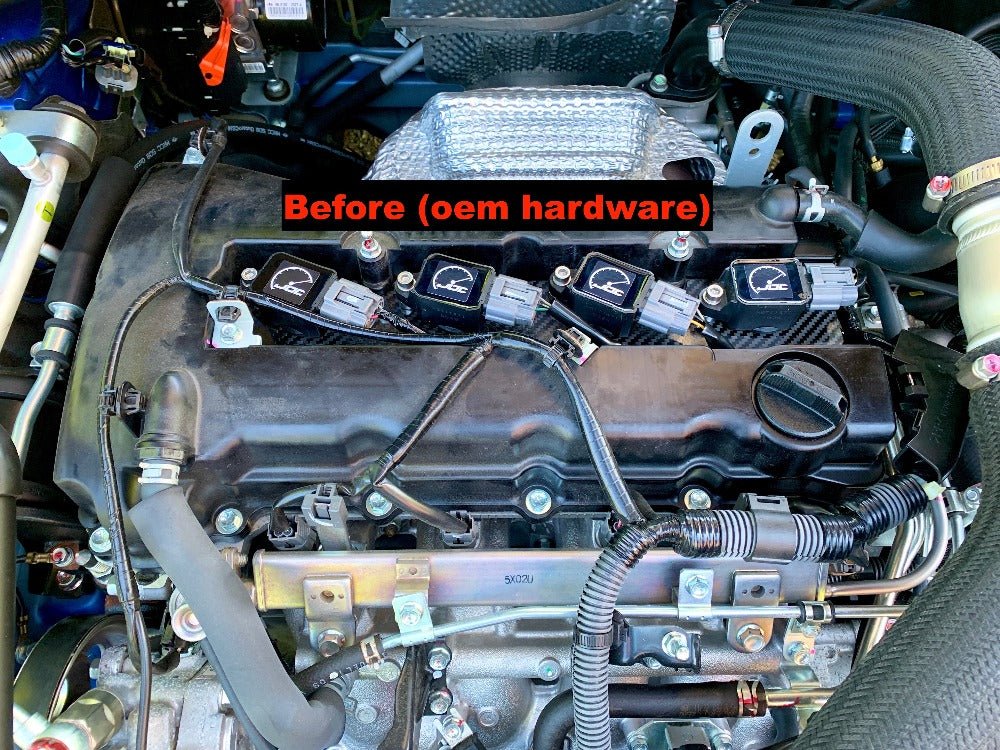
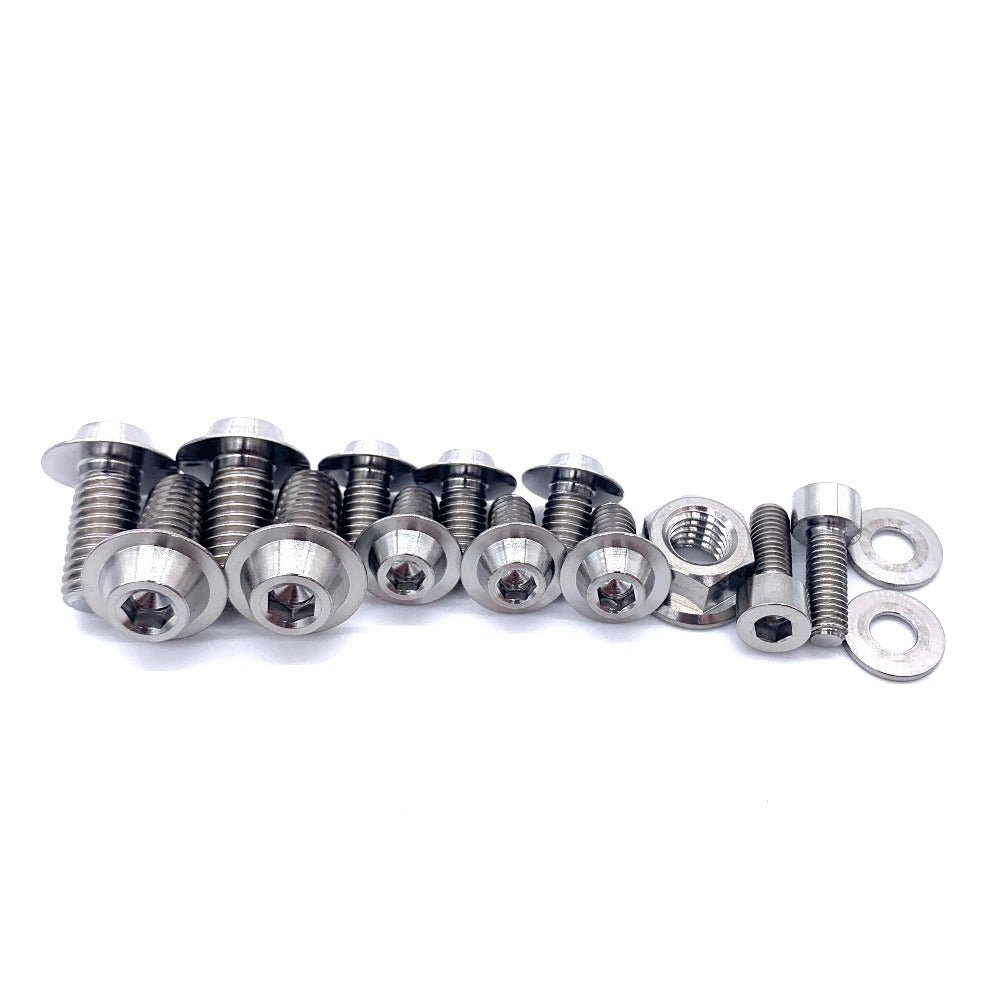
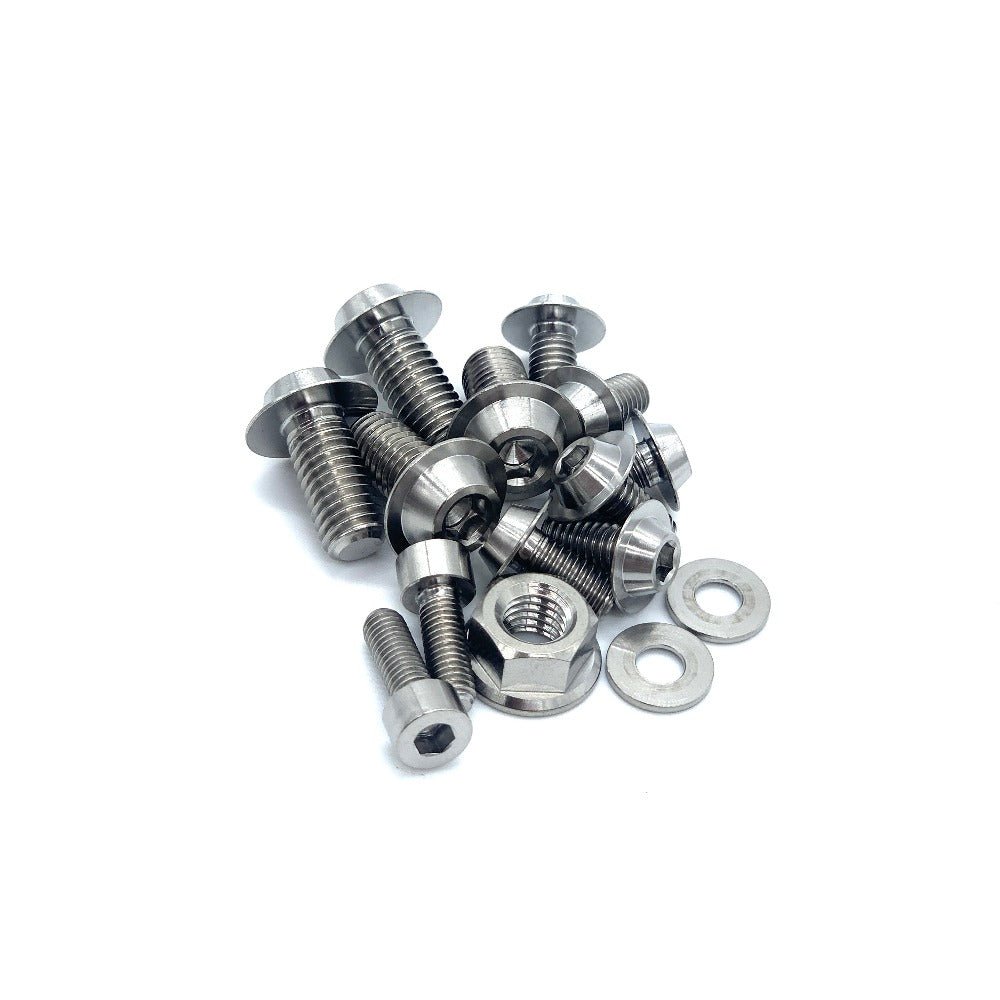
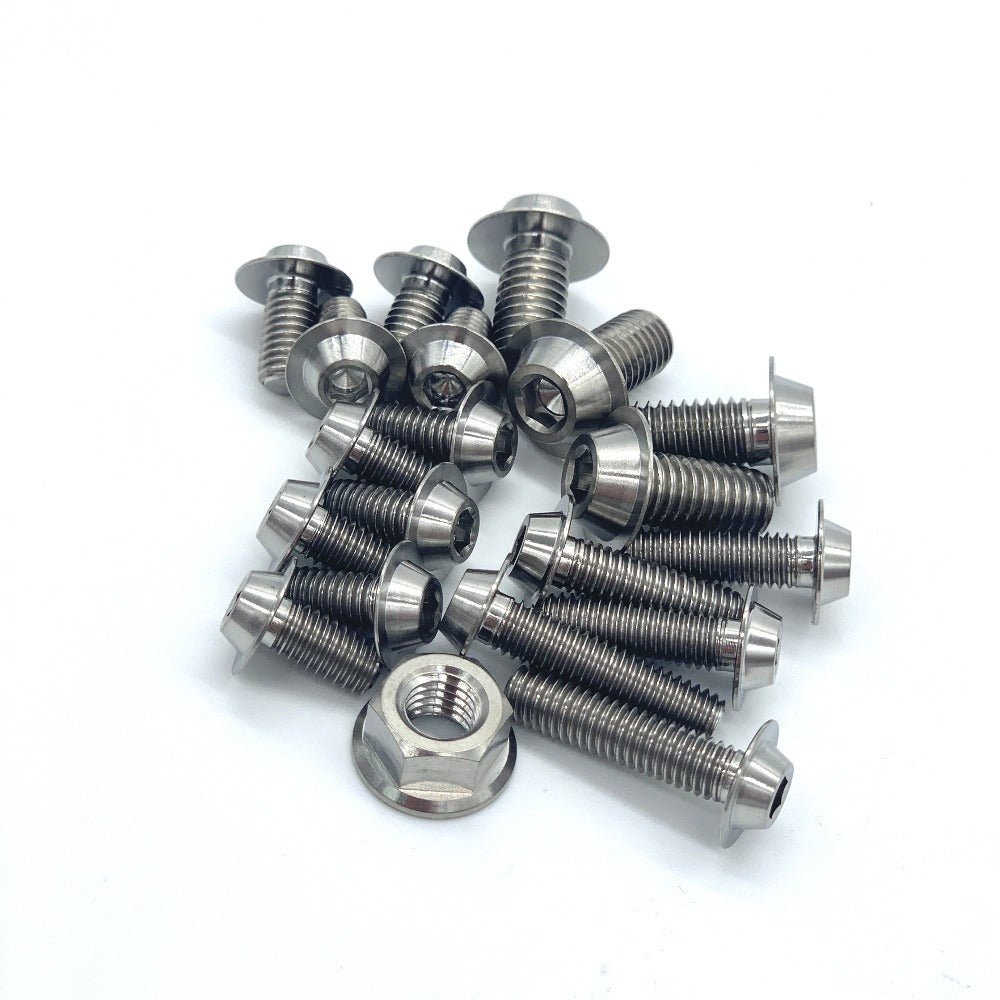
Step 3: The 4 medium-sized bolts (M6x20mm) are for the coil packs. Remove the old bolts and replace them with the new titanium bolts. Hand-tight will be fine those these.
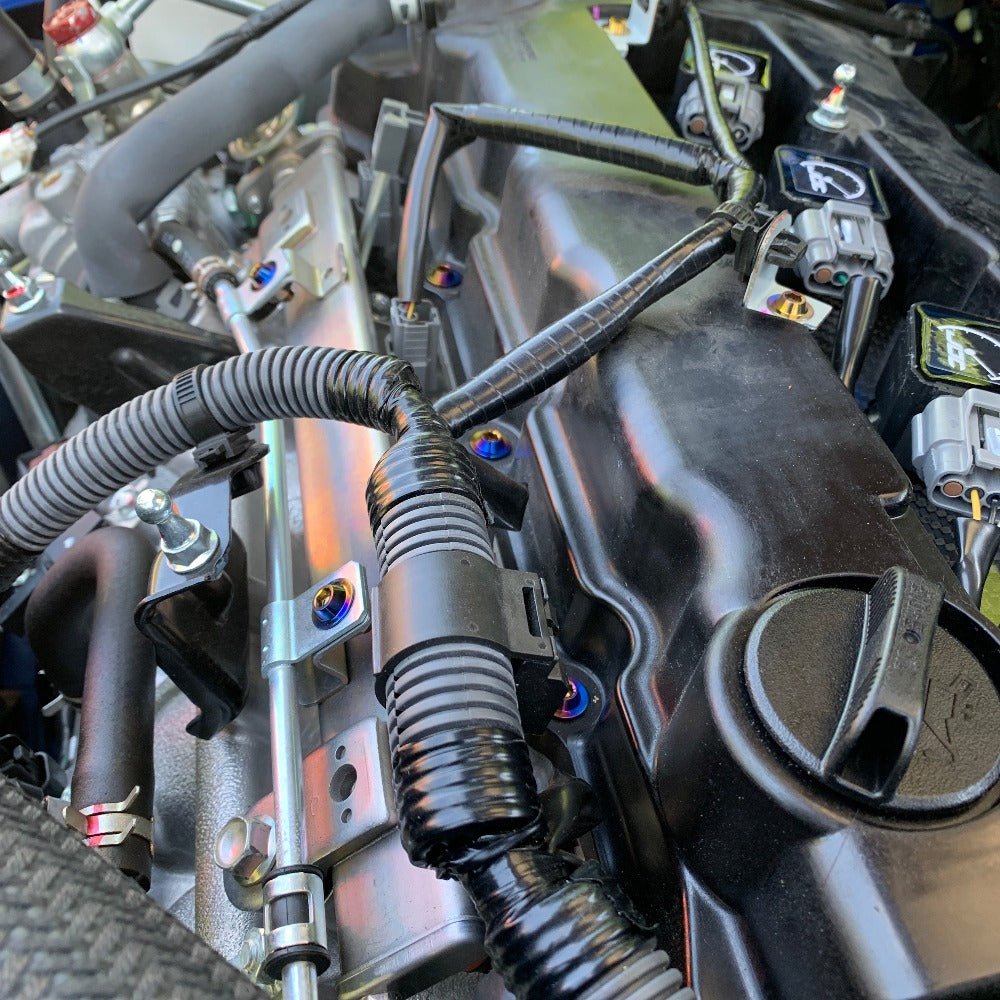
Step 4: Remove the 3 old bolts from the wire clips on top of the valve cover. This will require pinching the black clip and removing it from the bracket to get the 10mm socket on the bolt. Replace these with the smallest bolts (M6x12mm). Hand-tight is fine for these.
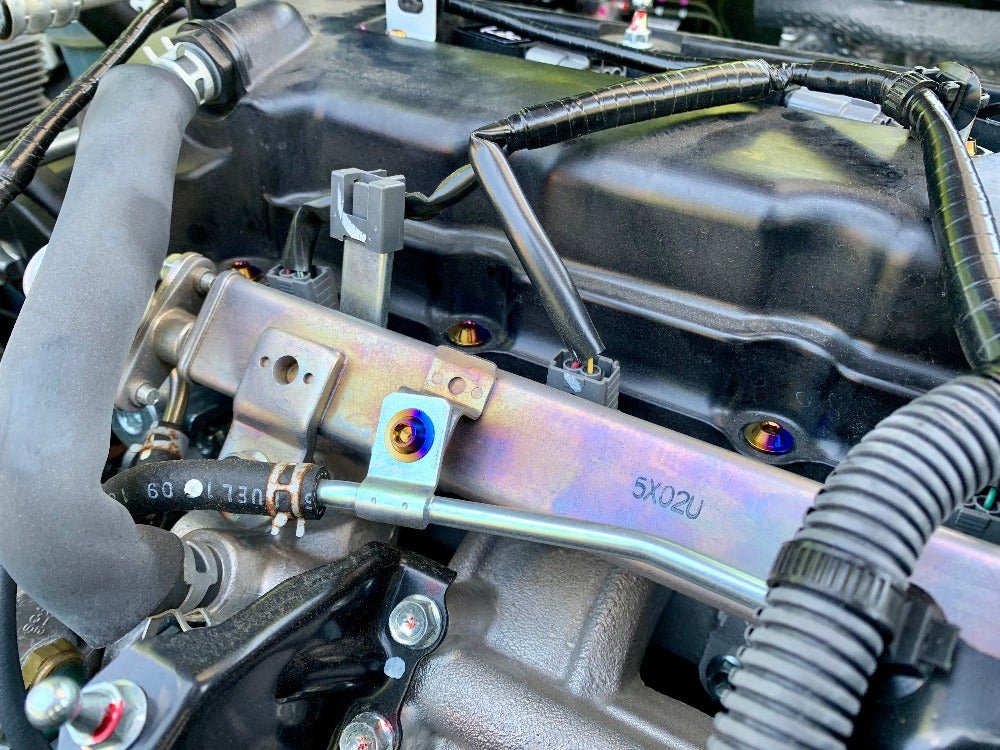
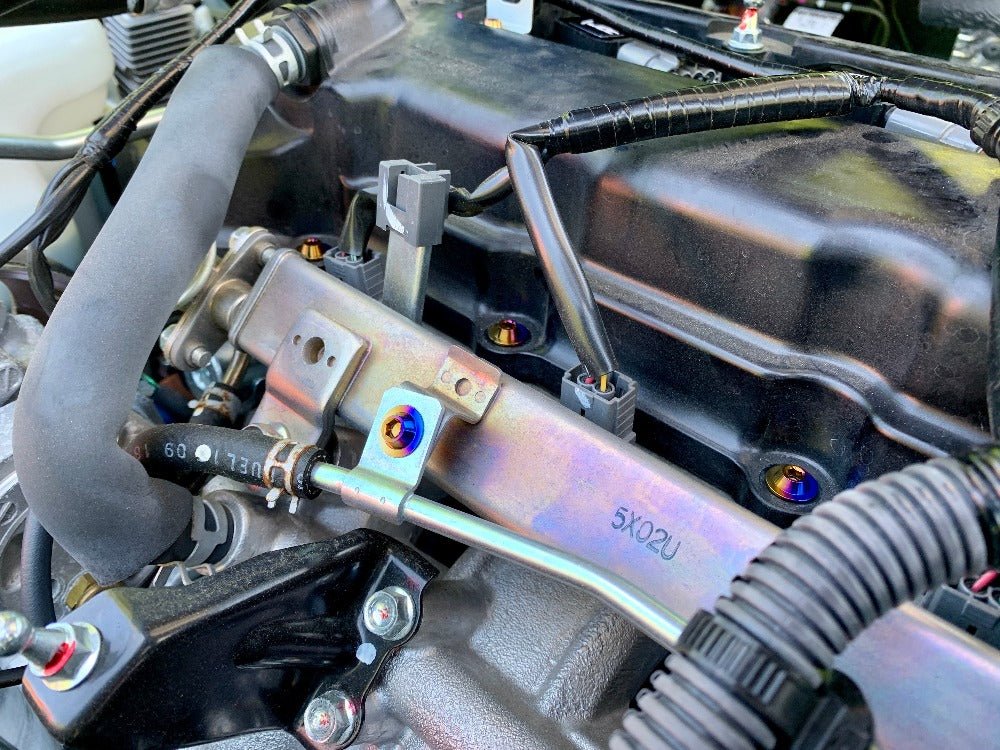
Step 5: Remove the two bolts from the top of the fuel rail and replace them with the small titanium bolts (M6x12mm). Hand-tight is fine for these as well.
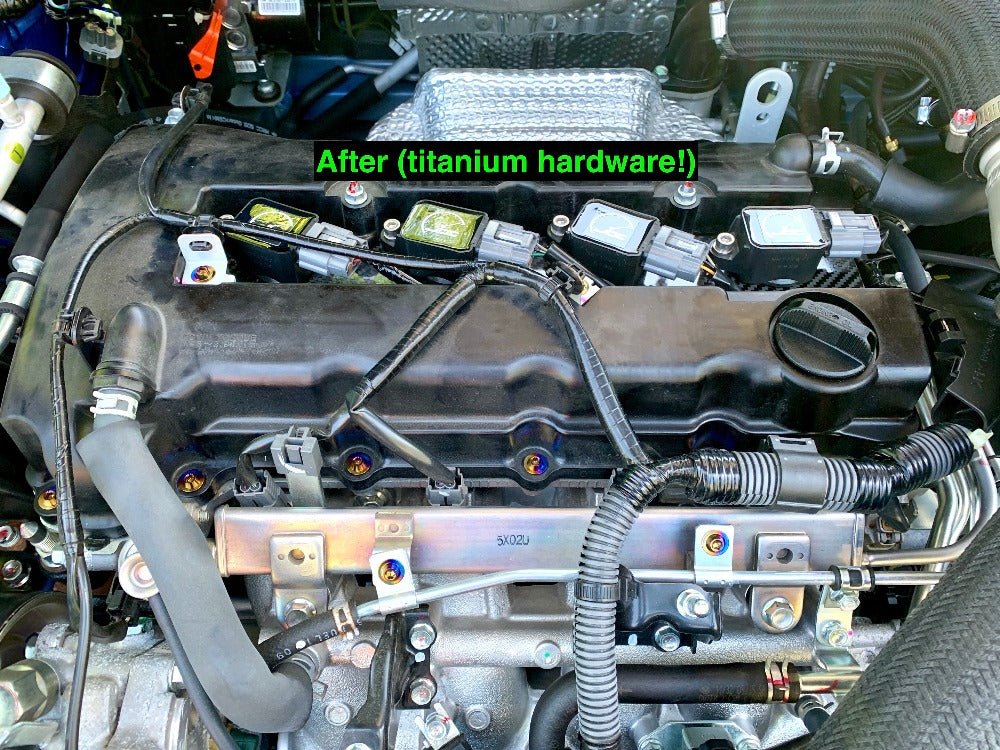
Step 6: Take a step back and admire the beauty of a full titanium engine bay kit from JD Customs USA. Don't forget to take a few pictures and tag us @JD_Customs_USA! We usually repost installation pictures on our Instagram story! Thanks for your business and stay tuned for more Evo X parts and kits coming soon!