


JDC チタン バルブ カバー ハードウェア交換キット (Evo X)
JDC-TI-EVOX-VCHRK-OB
$ 95.00
Pairs well with
<p>%E3%81%93%E3%81%AE%E5%95%86%E5%93%81%E3%82%92%E8%B3%BC%E5%85%A5%E3%81%99%E3%82%8B%E3%81%A8%E3%80%81[points_amount]%20%E7%8D%B2%E5%BE%97%E3%81%A7%E3%81%8D%E3%81%BE%E3%81%99%E3%80%82</p>
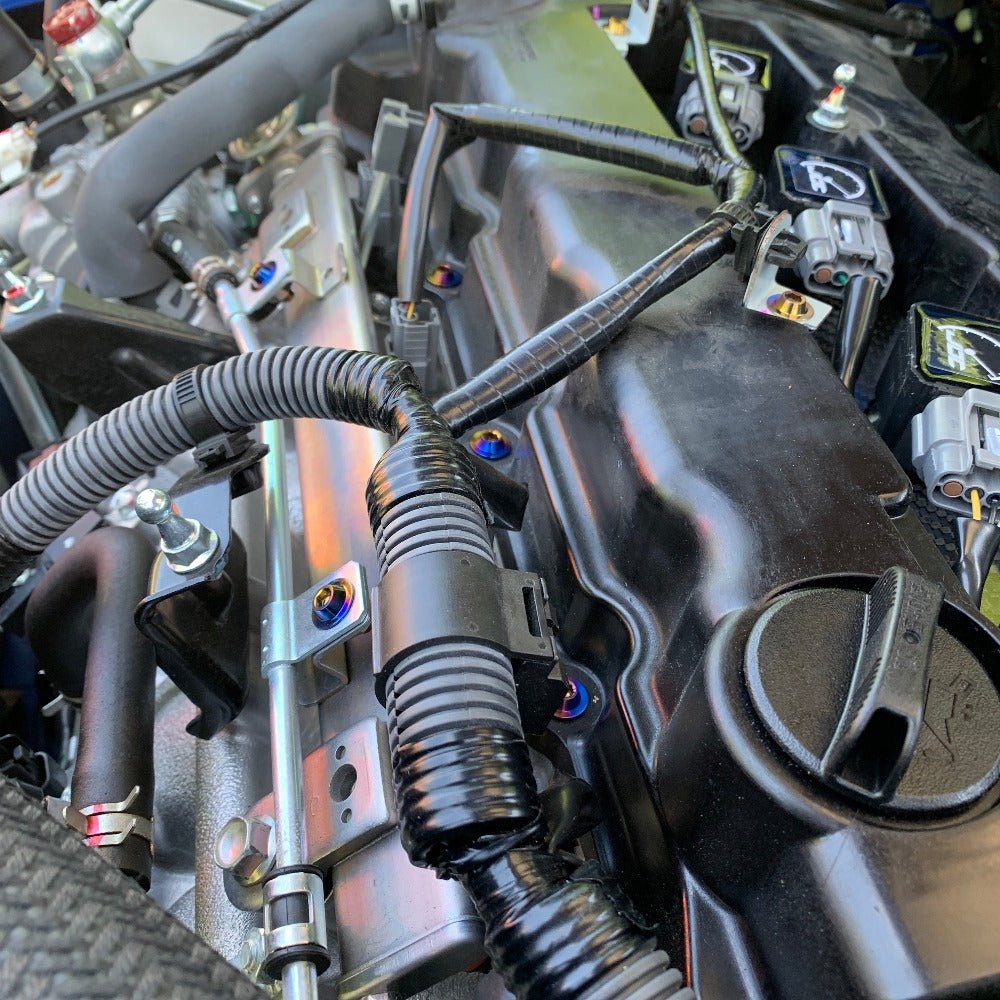
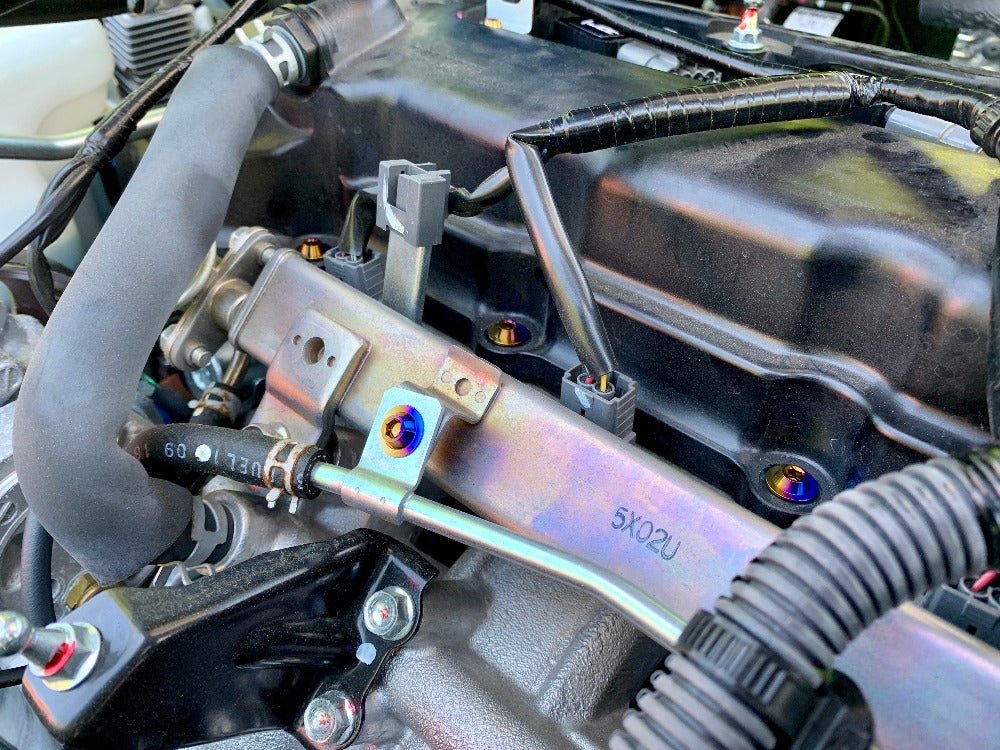
JDC チタンバルブカバーハードウェア交換キット
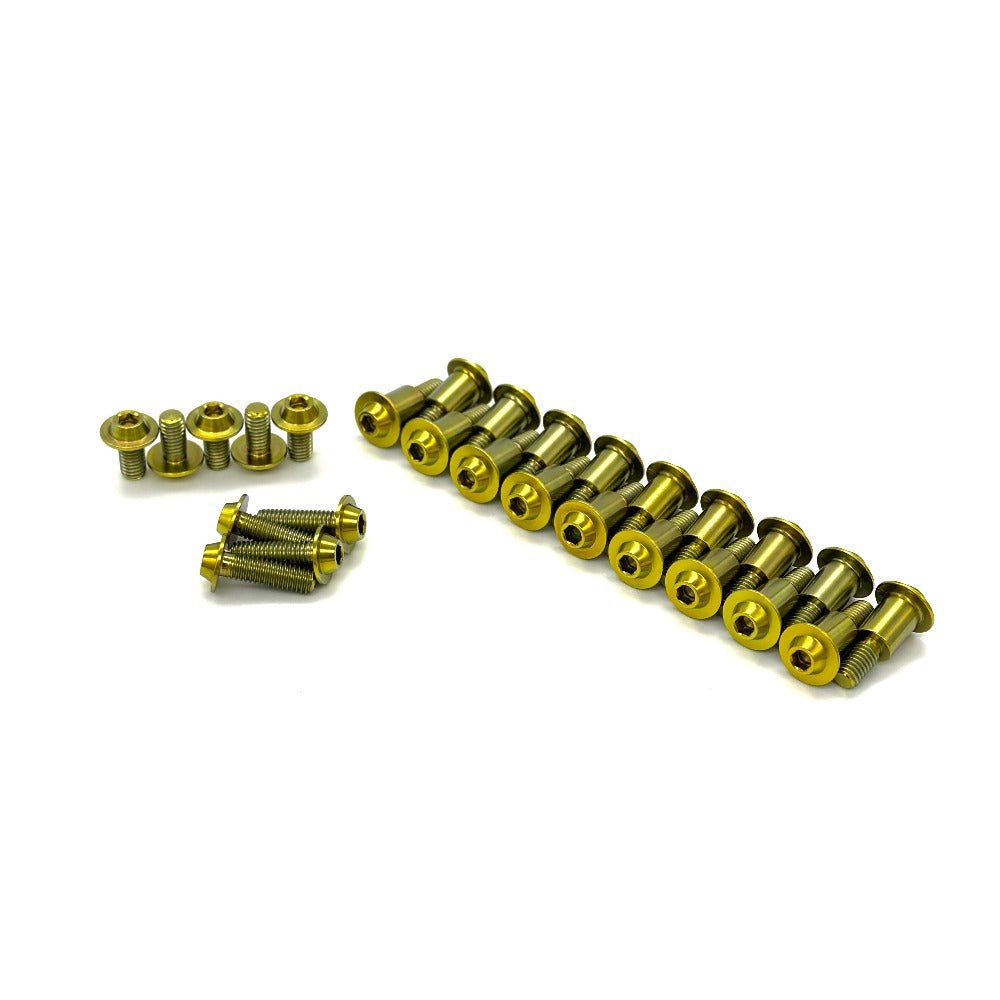
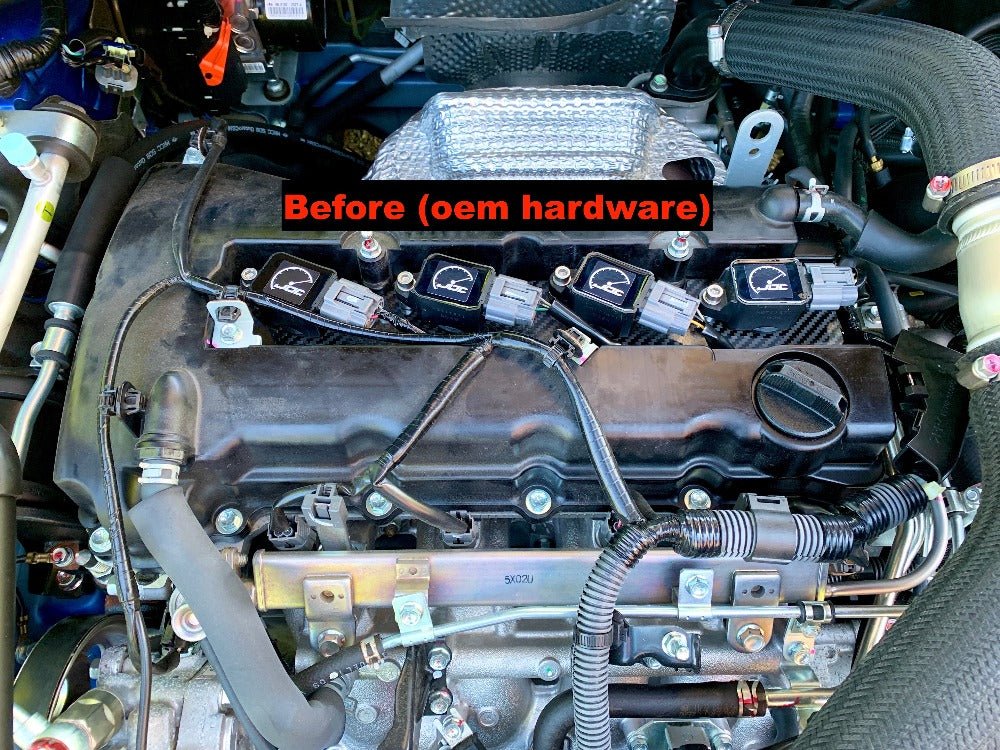
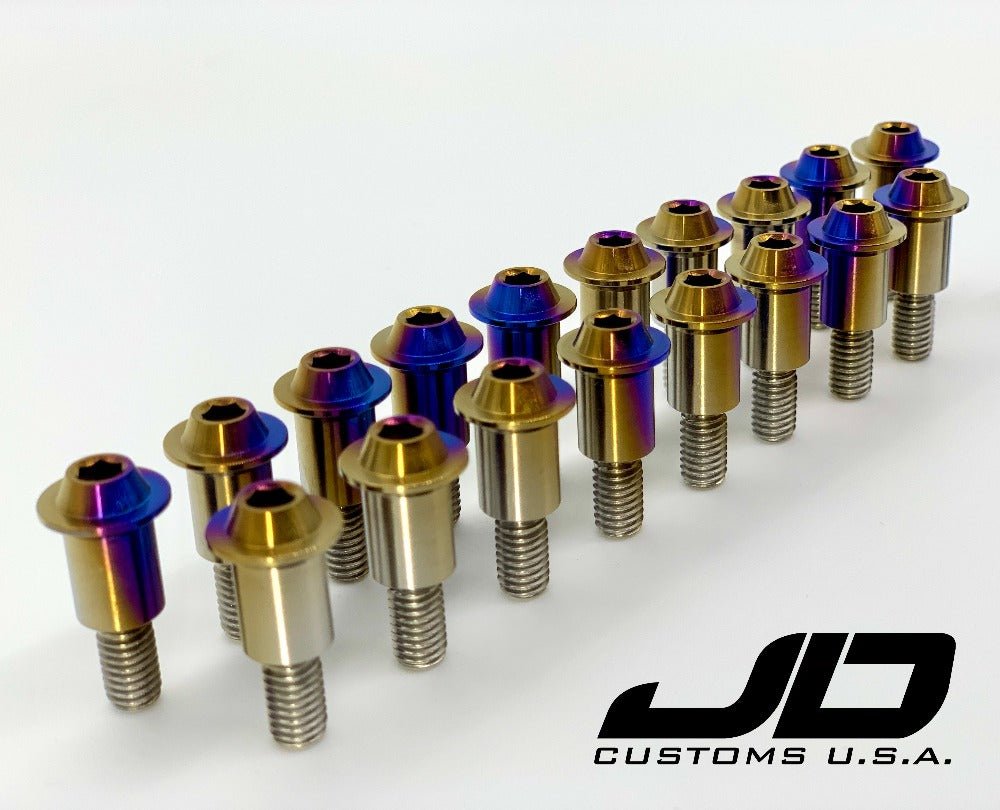
このキットは、錆びた OEM バルブ カバー ハードウェアを、美しい CNC 加工の Gr5 チタン ハードウェアに交換します。バルブ カバー ボルトは、深さと直径が OEM 仕様に一致するように設計されていますが、よりクリーンで平らな外観のために、カスタム設計のヘッドを追加しました。このキットは、プラスチック製またはアルミニウム製のバルブ カバーに使用できます。2 つのオプションから選択できます。
フルキット:
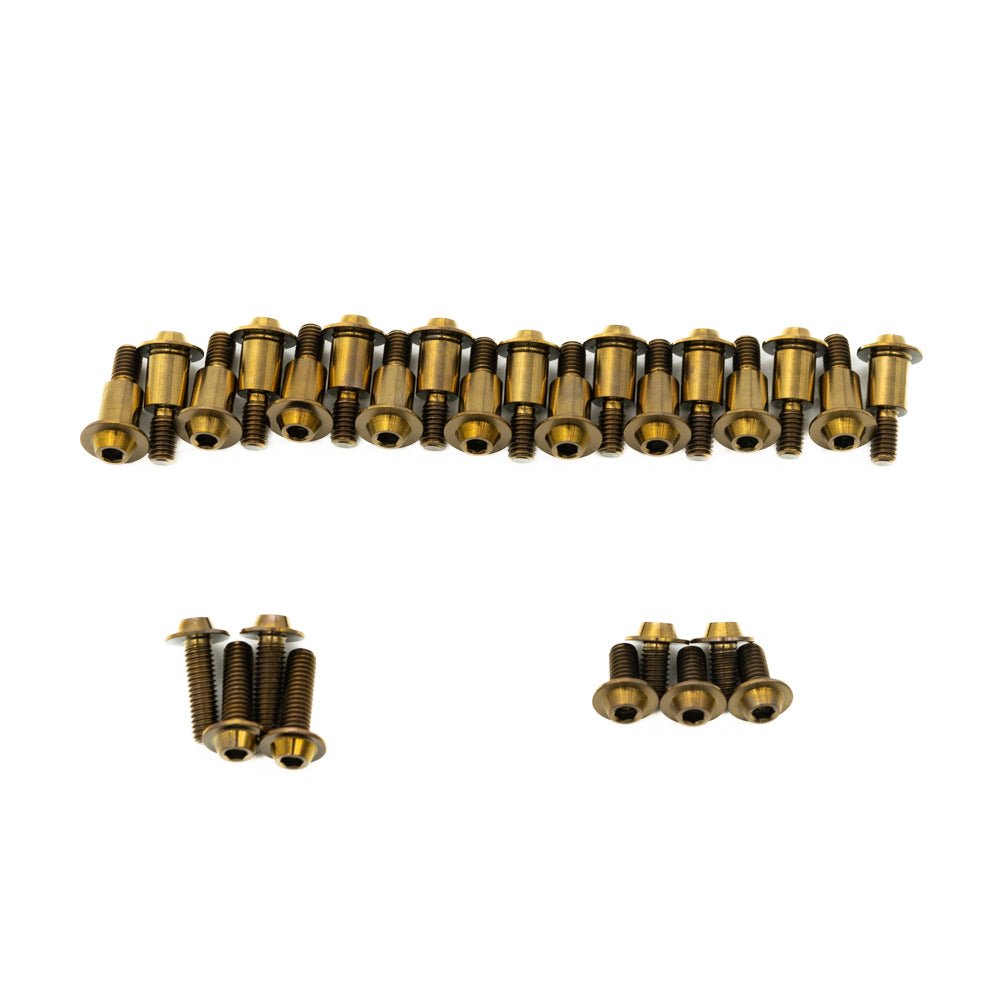
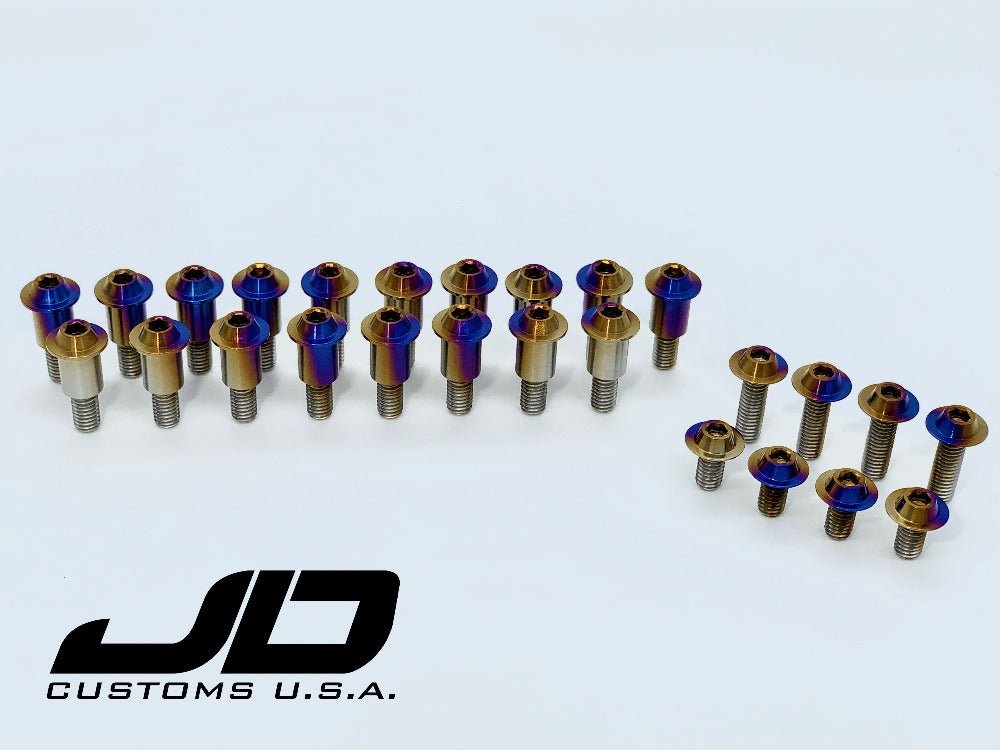
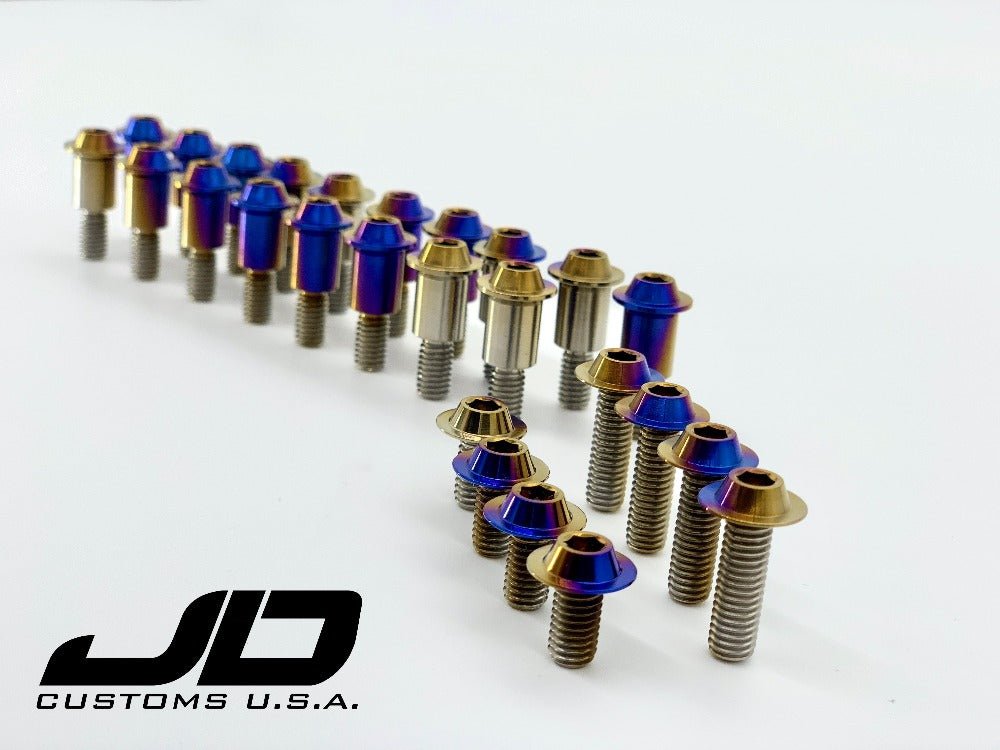
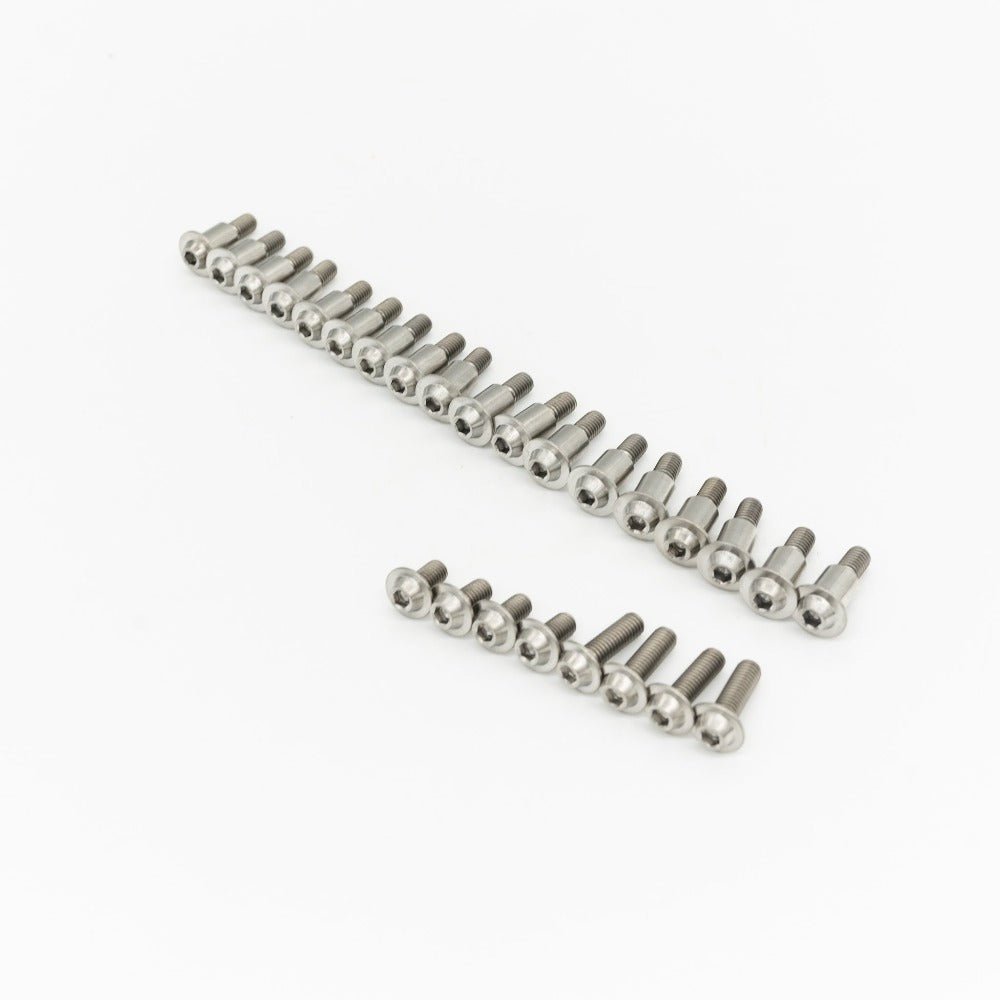
フルキットには、すべてのバルブ カバー ハードウェアが交換され、コイル、ワイヤー ハーネス ブラケット、燃料レール ラインの交換用ハードウェアも含まれています。フルキットには次のものが含まれています。
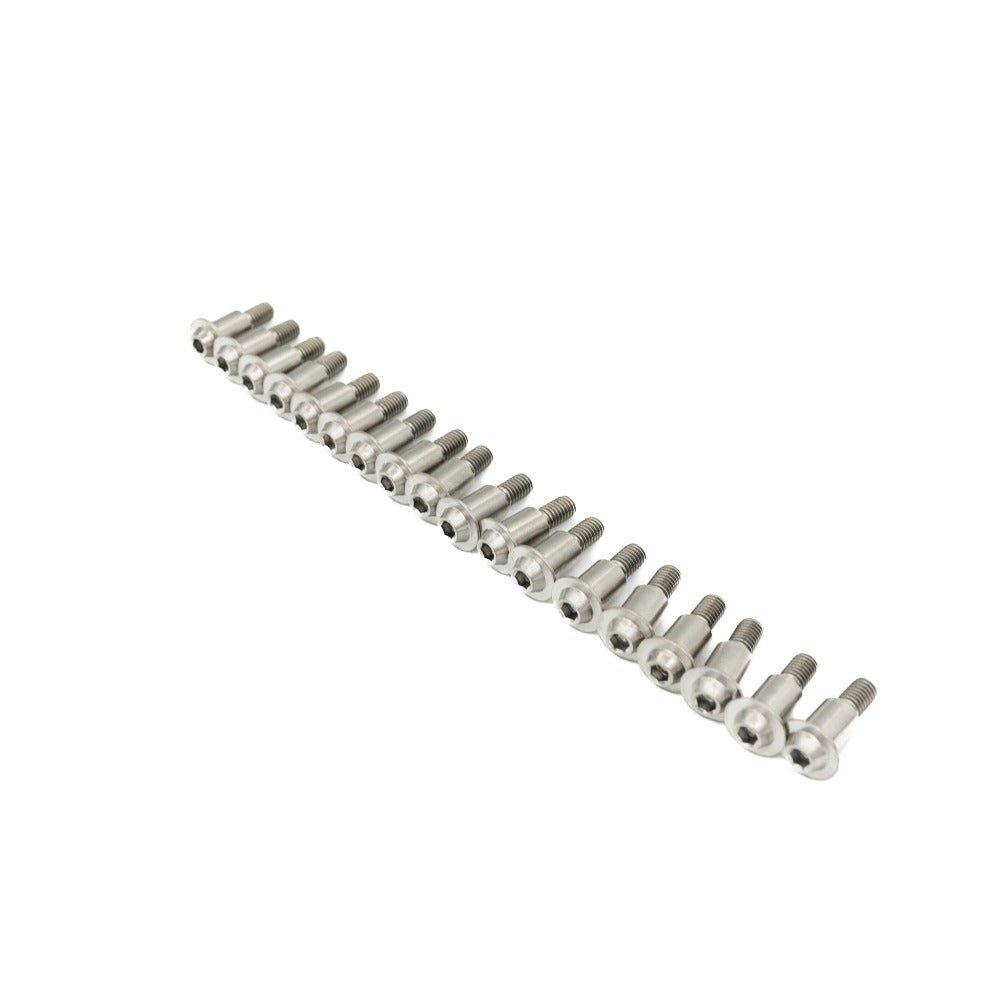
- (18)エボX専用に設計されたカラー付きJDCカスタムヘッドボルト
- (4)コイル用JDCカスタムヘッドM6ボルト
- (2)燃料レールライン用JDCカスタムヘッドM6ボルト
- (3) JDCカスタムヘッドM6ボルトバルブカバーブラケット用
基本キット:
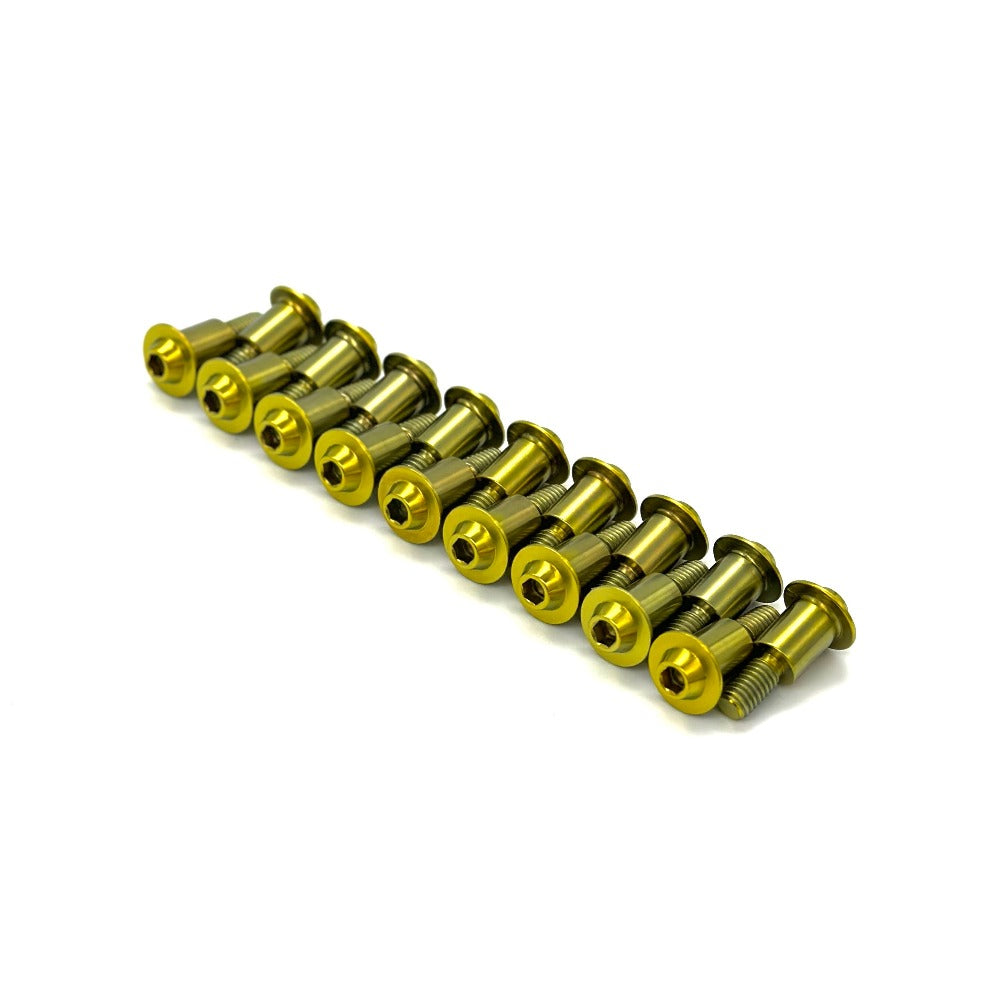
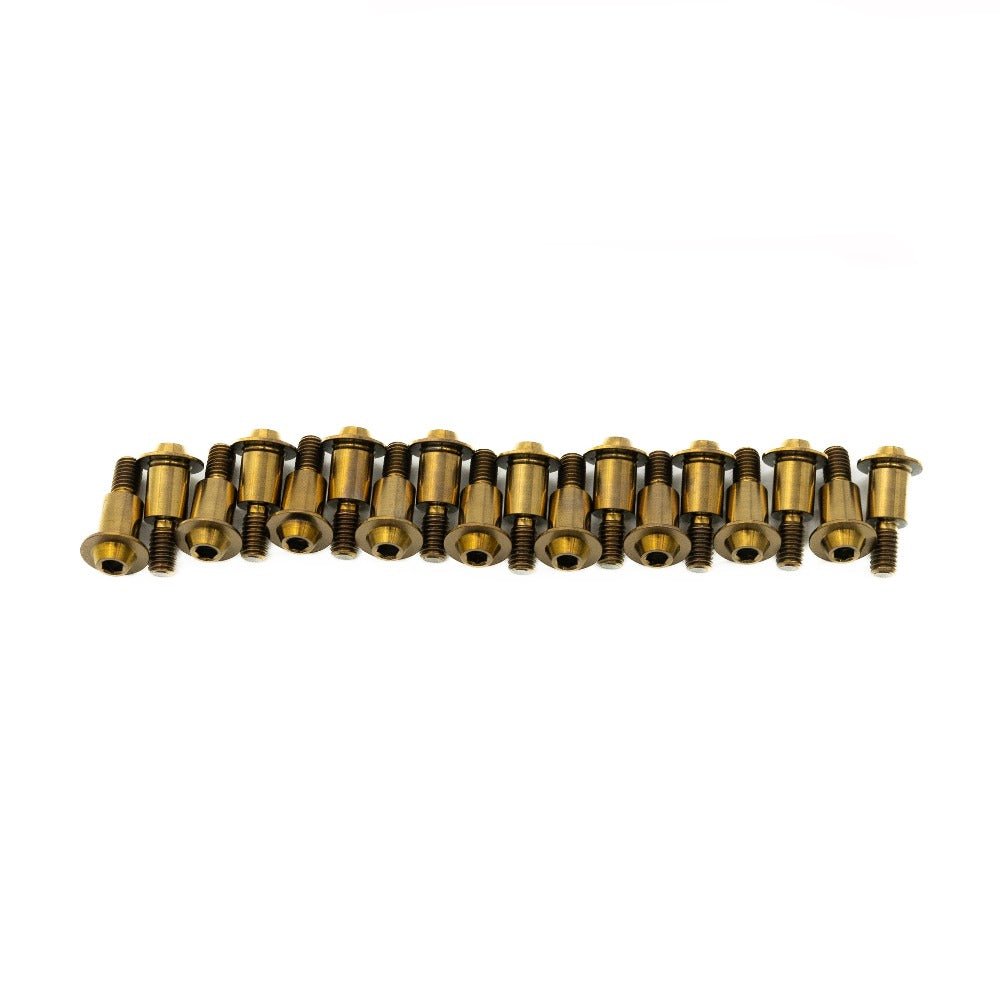
基本キットには、バルブ カバー ボルトのみが含まれています。基本キットには次のものが含まれています。
- (18)エボX専用に設計されたカラー付きJDCカスタムヘッドボルト
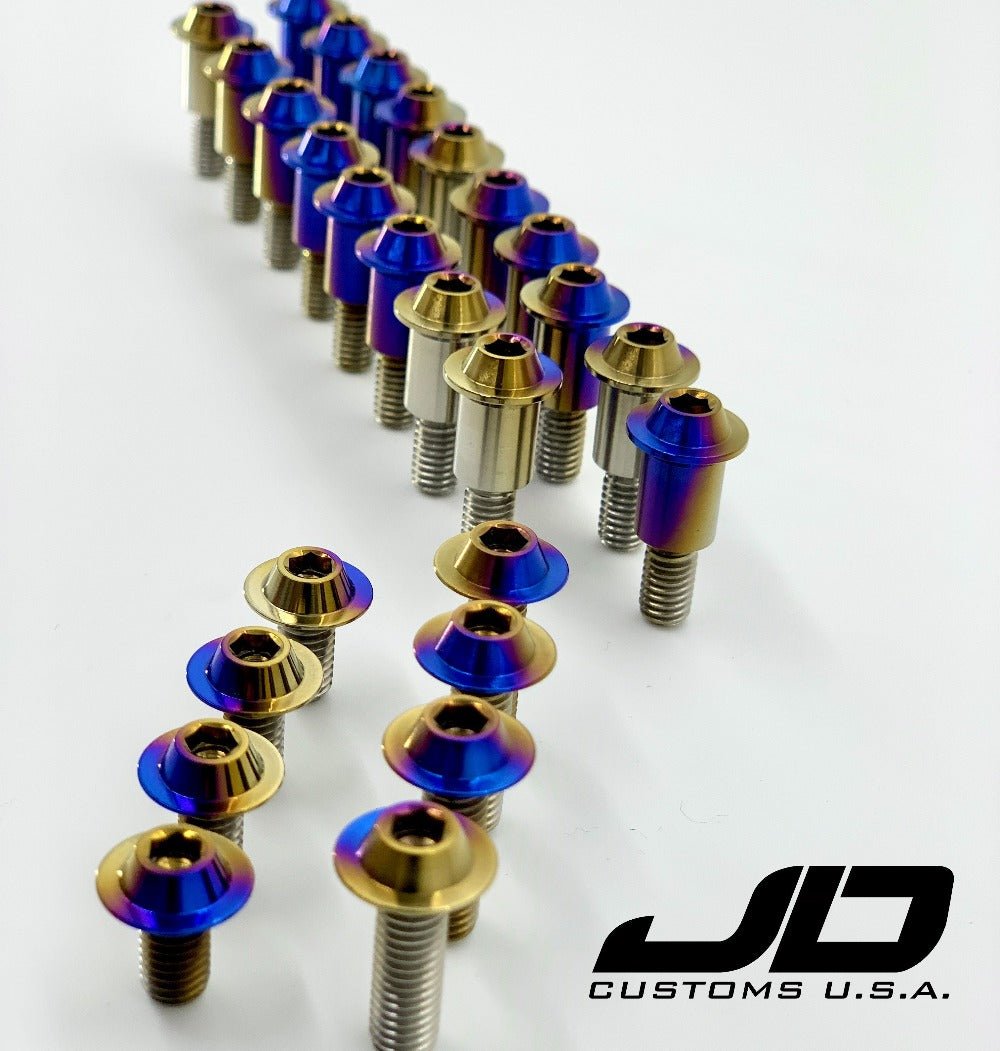
当社のチタンについて:
JDC チタン ハードウェアは、精密 CNC 加工された 6AL-4V グレード 5 チタンで作られています。非常に高い引張強度と耐腐食性を備え、しかも超軽量です。複数のカラー オプションからお選びいただけます。各部品は手作業で磨かれ、その後当社の有名な冷間陽極酸化処理が施され、美しく鮮やかな色が何年も持続します。
配送時間:
- JDC チタン製品はすべて、商品リストに特に記載がない限り、受注生産となります。現在の予想納期については、Web サイト上部の赤いバナーをご覧ください。生産時間は、ご注文のサイズ、ご注文の製品、ご要望のカスタム オプションの難易度によって異なります。
インストール手順:
- バルブ カバー ハードウェアの工場推奨トルク仕様は 48.5 +/- 4.5インチ ポンドです。ボルトを締める際は、必ず 4mm の六角レンチを使用し、Torx ビットは使用しないでください。当社の Evo X バルブ カバー ボルトは、ヘッドが剥がれる前に 14.5 フィート/ポンド (174 インチ/ポンド) に耐えられるよう、トルク レンチでテストされています。ボルトが剥がれる問題がある場合は、何かが間違っています。
- 取り付け中は、チタンに油が付かないように手袋を着用することをお勧めします。清潔な手袋をお持ちでない場合は、チタン部品に触れる前に手を洗うと効果的です。取り付け後は、石鹸水またはマイクロファイバーの布で Windex を使用してハードウェアを拭き、輝きを取り戻すことができます。
-
ステップ 1:まず、下の図の穴 1 と 2 のボルトを除くすべてのボルトをバルブ カバーから取り外します。これらのボルトは、残りのボルトを交換するときにバルブ カバーを中央に保つのに役立ちます。残りのボルトを挿入し、手で緩く締めます。
-
ステップ 2:下のトルク図に従って、すべてのボルトを図の順序で 26.5 +/- 8.8 インチ ポンドに締め付けます。ボルト 18 に到達したら、ボルト 1 と 2 を新しいボルトに交換します。ボルト 3 で 48.5 +/- 4.5 インチ ポンドまでトルク シーケンスを続けます。ボルト 1 と 2 の最終トルクを忘れないでください。基本キットを注文した場合は、ここで終了できます。フル キットを注文した場合は、ステップ 3 に進みます。
-
ステップ 3:コイル パック用の中型ボルト 4 本 (M6x20mm) です。古いボルトを取り外し、新しいチタン ボルトと交換します。これらは手で締めれば十分です。
-
ステップ 4:バルブ カバー上部のワイヤー クリップから 3 本の古いボルトを取り外します。ボルトの 10mm ソケットを取得するには、黒いクリップをつまんでブラケットから取り外す必要があります。これらを最小のボルト (M6x12mm) に交換します。これらは手で締めるだけで十分です。
-
ステップ 5:燃料レールの上部から 2 本のボルトを取り外し、小さなチタン ボルト (M6x12mm) と交換します。これらも手で締めるだけで十分です。
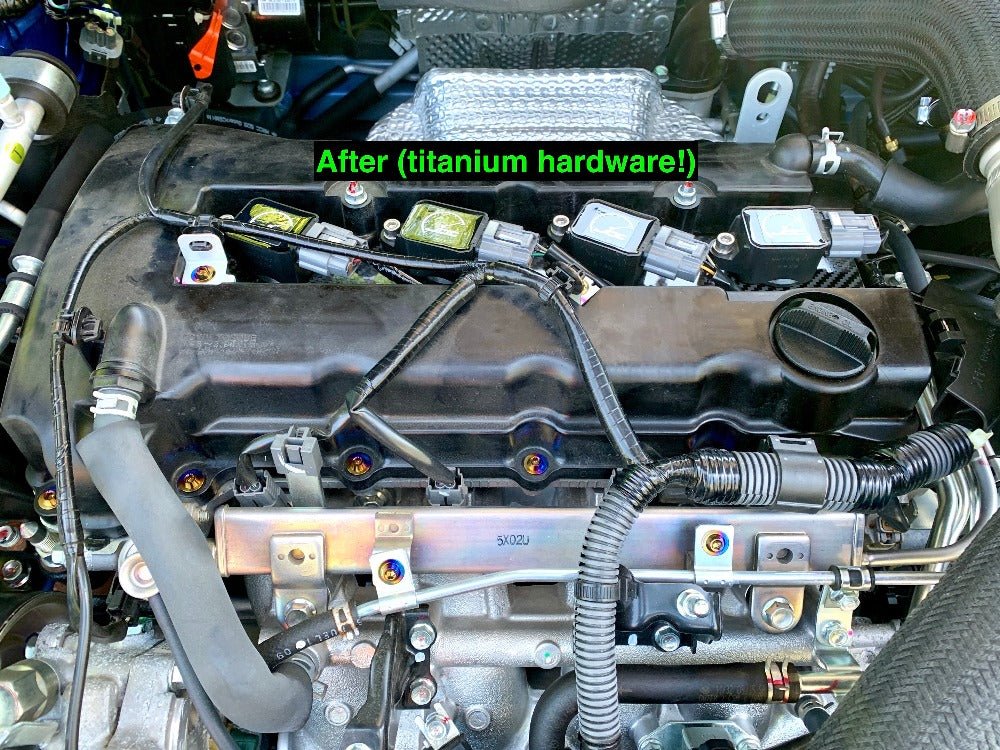
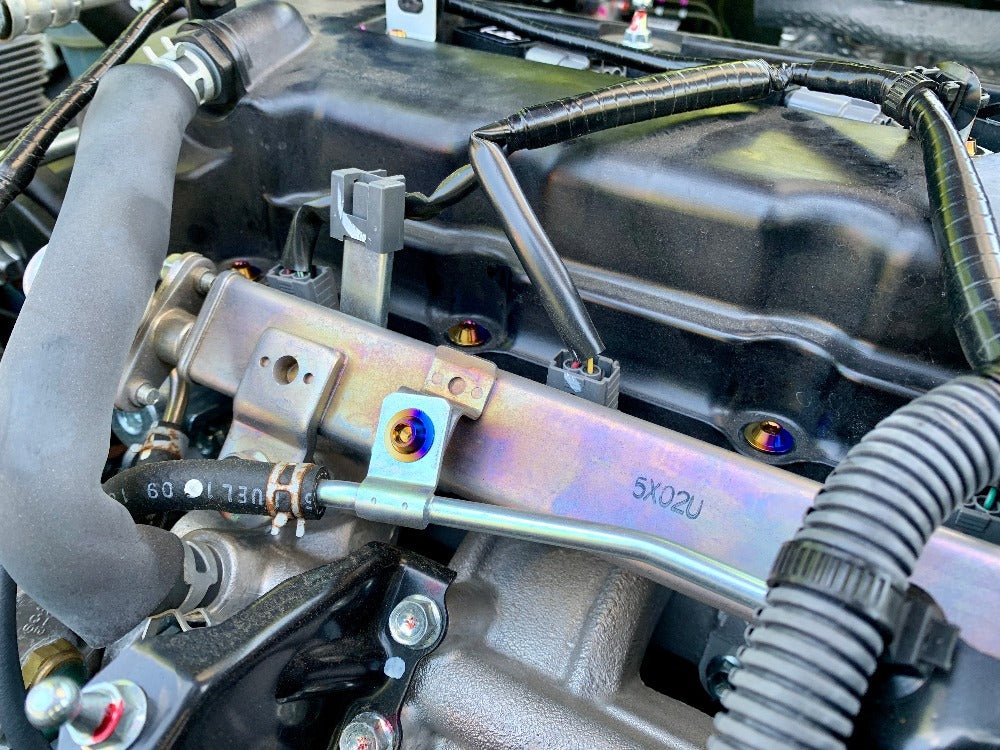
- ステップ 6:一歩下がって、JD Customs USA のカスタム チタン バルブ カバー キットの美しさを鑑賞してください。写真を何枚か撮って、@JD_Customs_USA でタグ付けするのを忘れないでください。通常、インストール写真は Instagram ストーリーに再投稿されます。ご利用いただきありがとうございます。近日中に Evo X のパーツとキットがさらに追加される予定ですので、どうぞご期待ください。

FAQs
Please read our FAQs page to find out more.